Install via plug-in
Follow the steps below to download and install the Privy plugin for WordPress. If you need the code to load asynchronously, which means it will load last, you will need to install the code manually.- Click here to download the WordPress Plugin and save it to your computer.
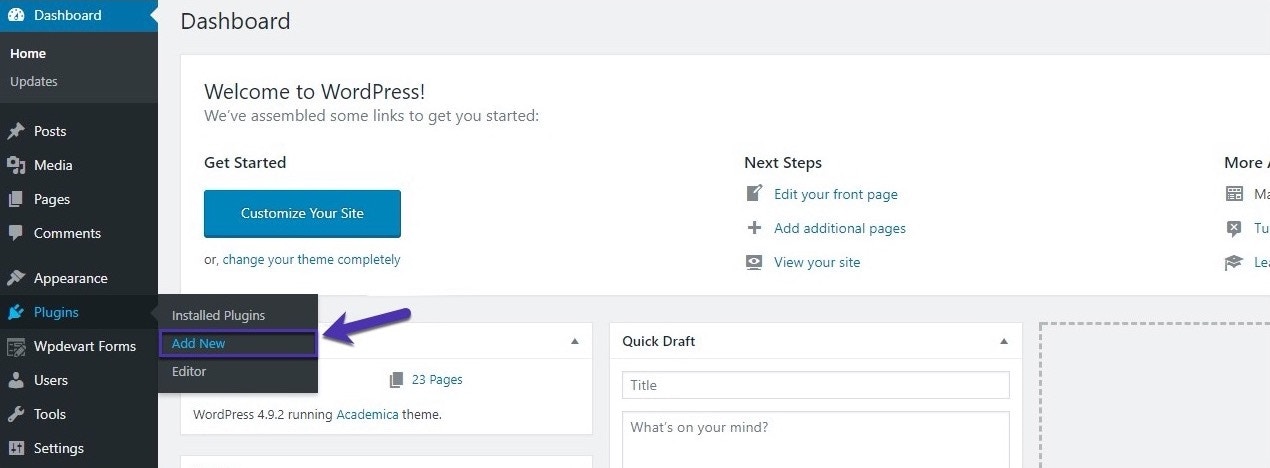
- Upload the privy-wordpress.zip file to your WordPress site. To do this, navigate to the Admin dashboard in your WordPress site and select Plugins > Add New from the sidebar.
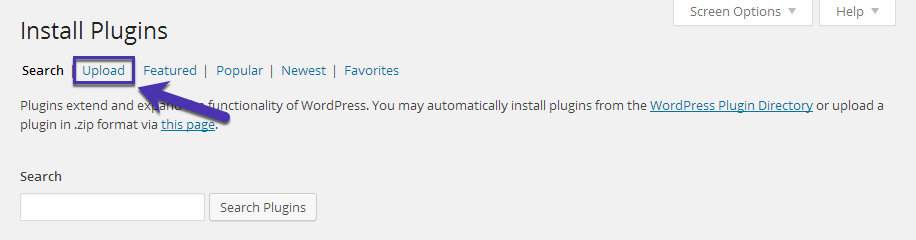
- On the subsequent screen, select the Upload option.
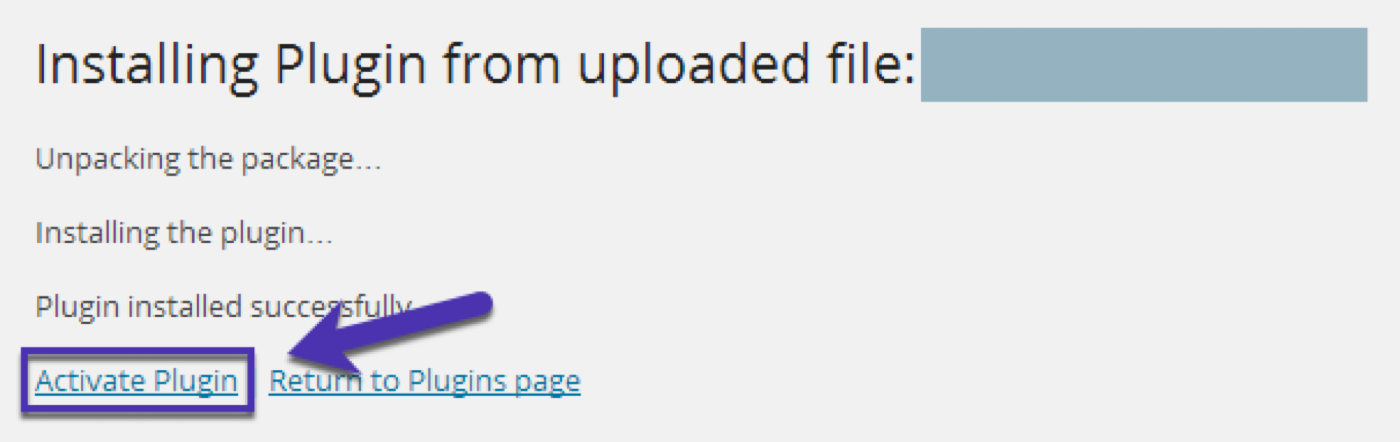
- Once the upload is complete, click Activate Plugin to activate the plugin on your site.
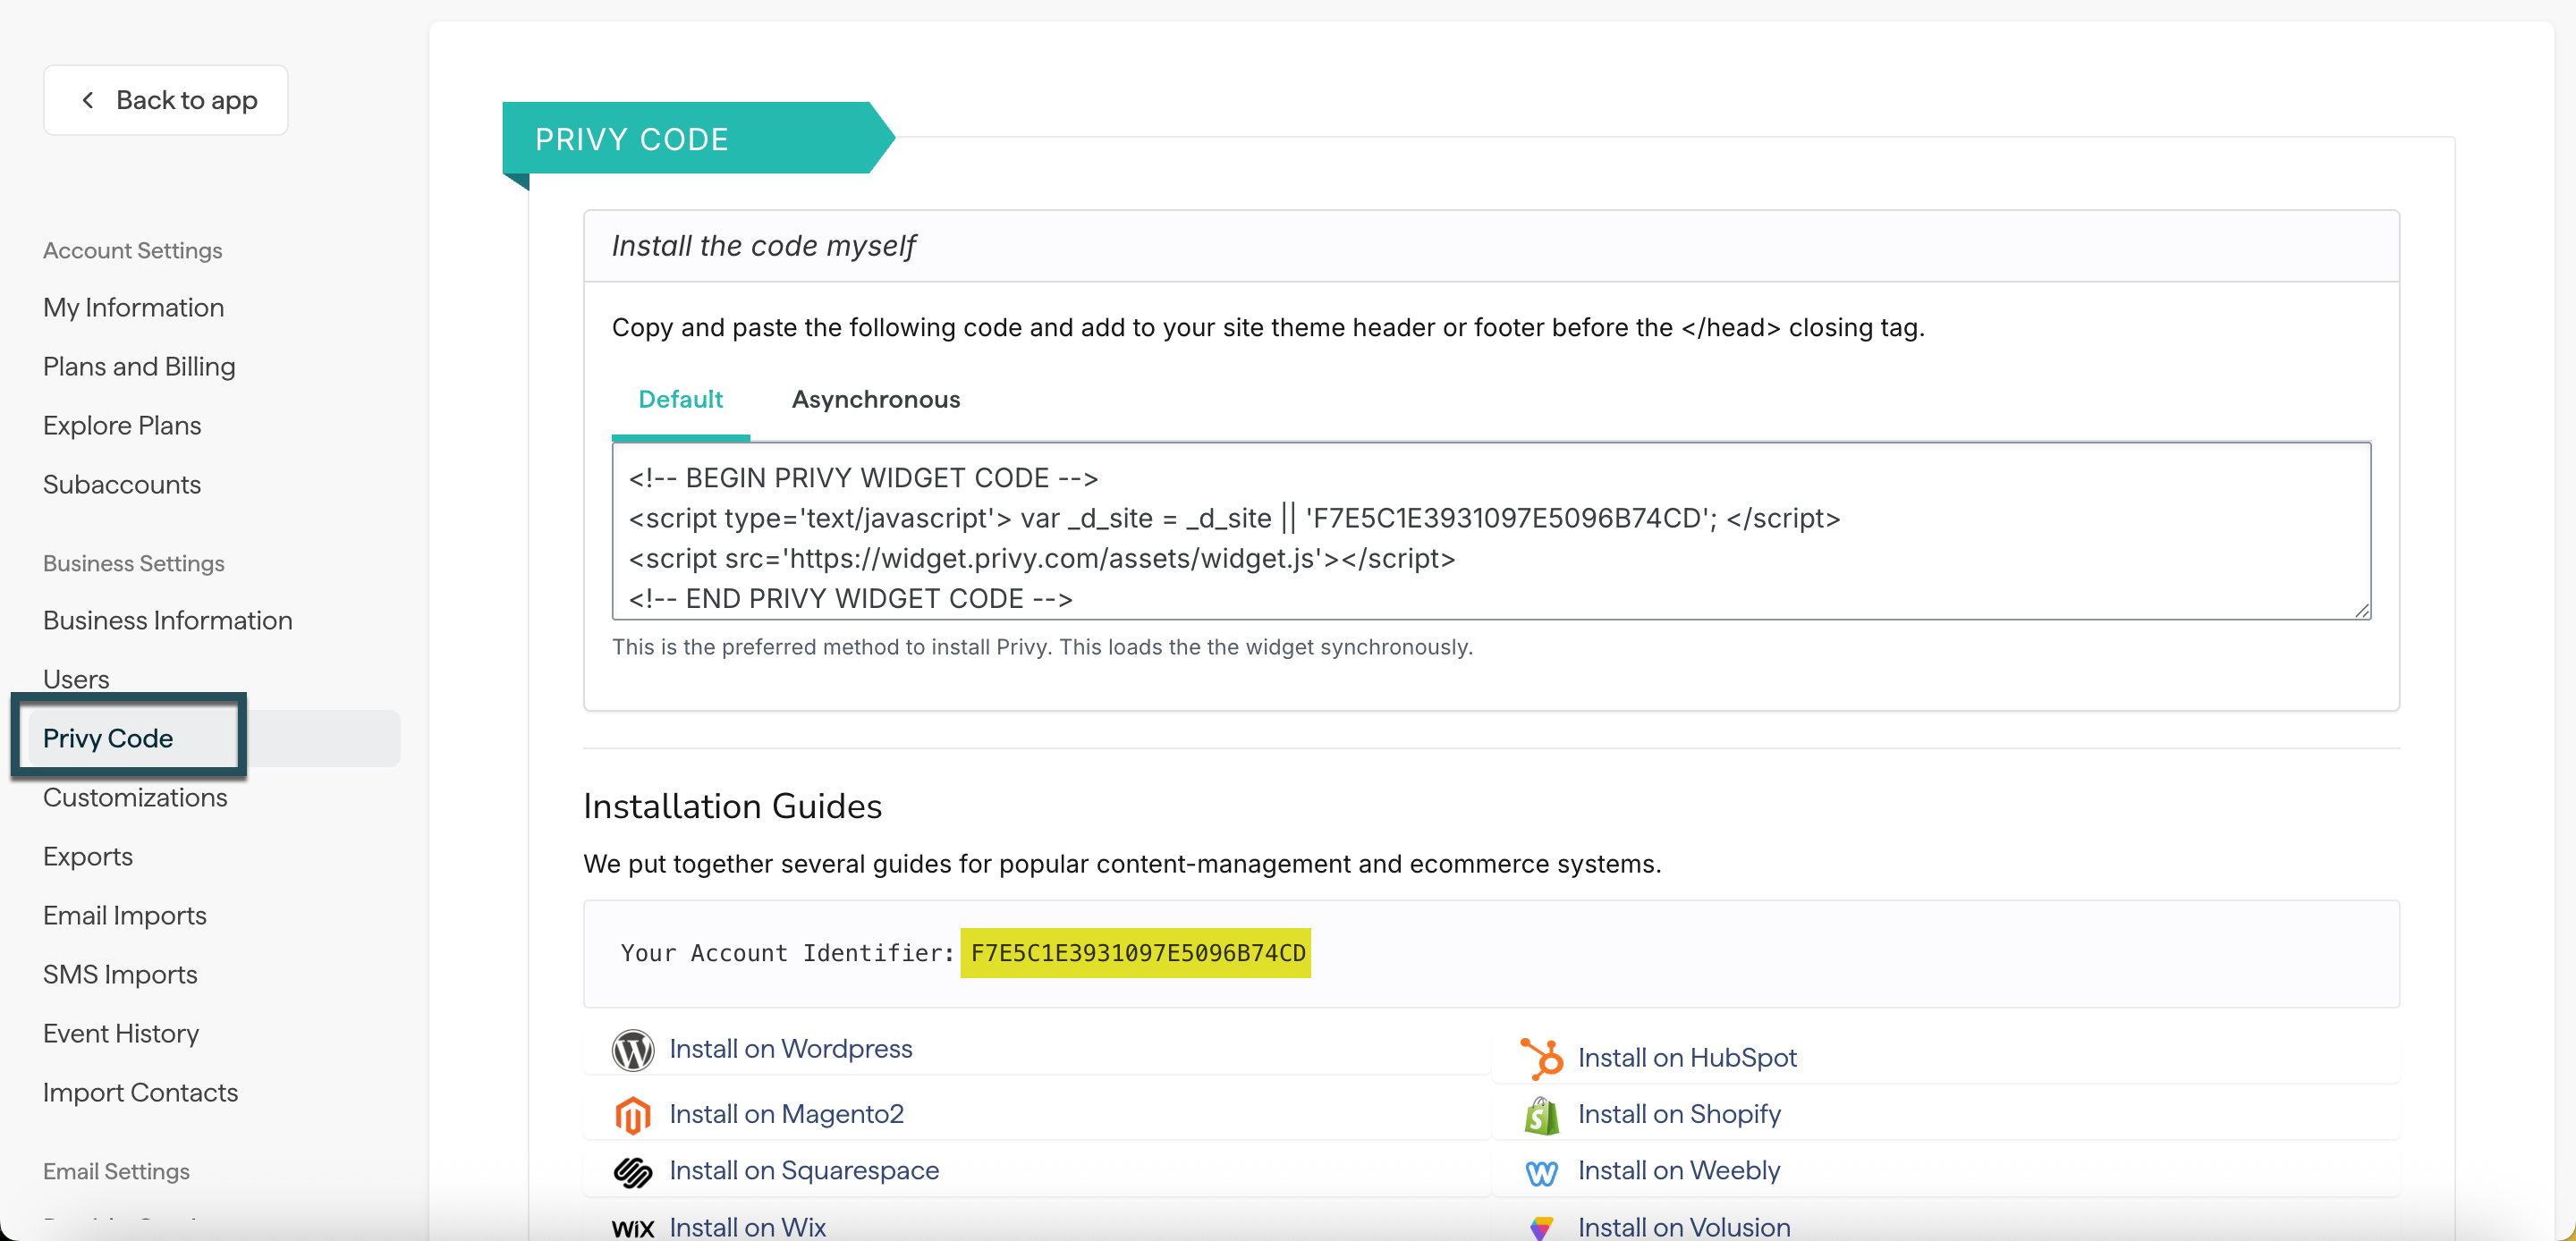
- Navigate to the Privy Code page in your account’s Settings.
- Locate and copy the code listed in the Your Account Identifier section, as shown below:
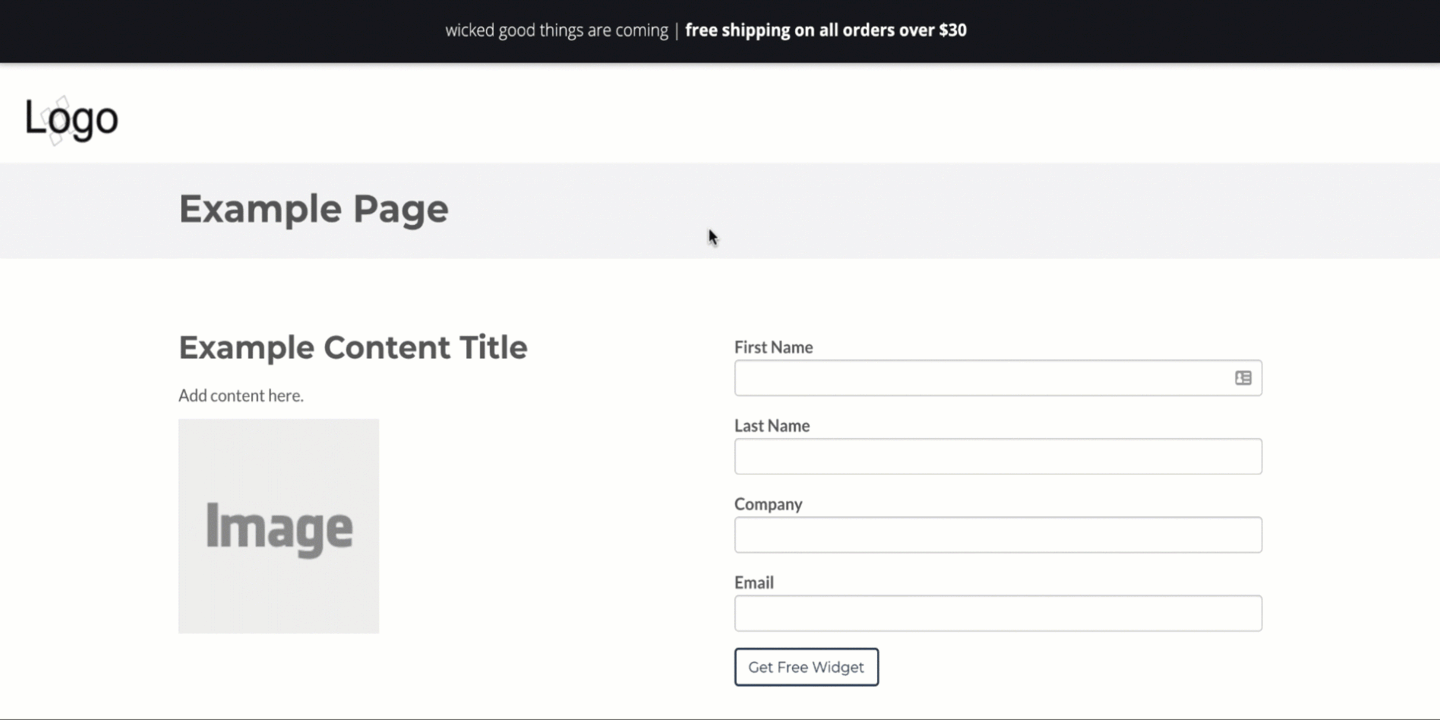
- In WordPress, enter the account identifier into the Privy Website Widget settings and save. Access the page by navigating to the Admin dashboard > Settings > Privy Website Widget.
Install the code manually
If you need the code to load asynchronously, which means it will load last, you will need to install the code manually by following the steps below:- Navigate to the Privy Code page in your account’s Settings.
- Locate and select the Default or Asynchronous tab to reveal its details. The default code is the preferred method to install Privy, allowing it to load in line with everything else on your site. Meanwhile, the asynchronous code will load Privy last.
- Copy the selected code.
- Log in to your WordPress account.
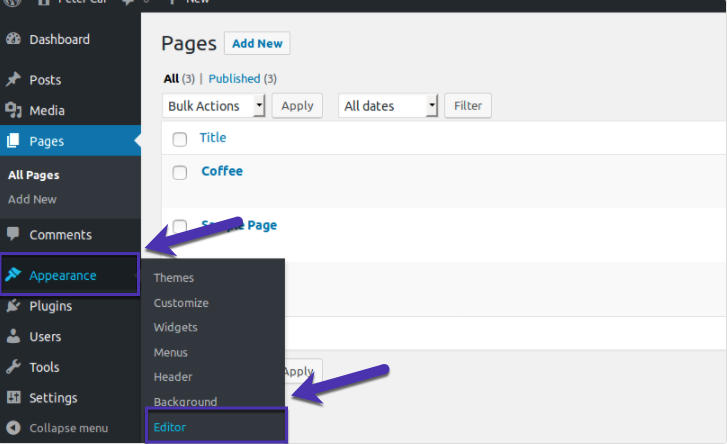
- In the left sidebar menu, navigate to Appearance > Editor.
- In the list of theme files on the right side of the editor, select your Theme Header.
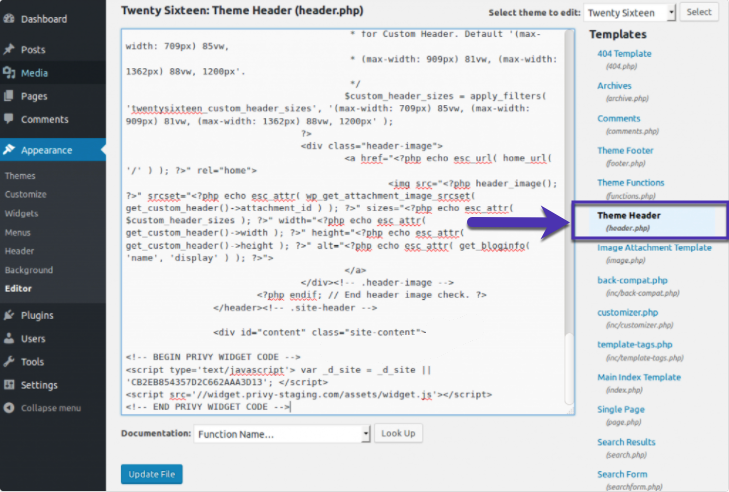
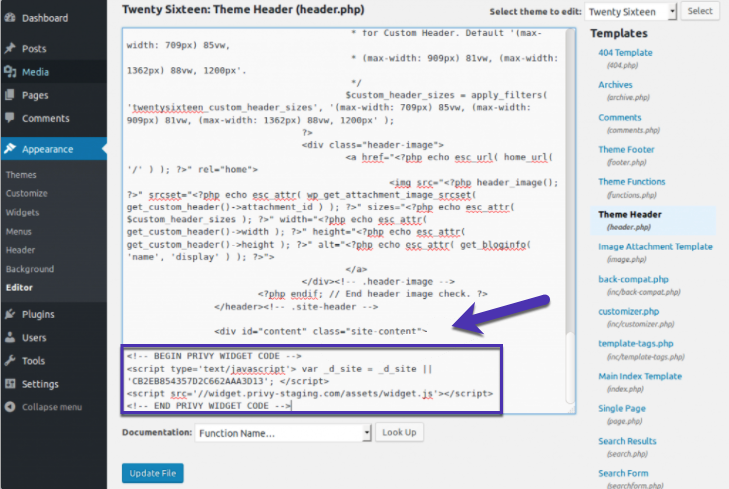
- Scroll to the bottom of the file, paste in the tracking code, and select Update File. If you are running a caching plugin, you must clear your cache now in that plugin’s settings.
Verify the installation
The Privy code allows you to display your displays and monitor your website’s events (e.g., display views). If your displays aren’t displaying properly or event information is missing, verify that the code has been installed and that it’s firing correctly:- Navigate to the Privy Code page in your account’s settings.
- In the Installation Guides section, locate and copy your Account Identifier.
- Open a page on your website and right-click anywhere on the page.
- In the dropdown menu, select View page source or View source.
- Use CTRL-F or CMD-F to search for the identifier that you copied.
- If the code appears, verify that it has been copied and pasted correctly from your settings.
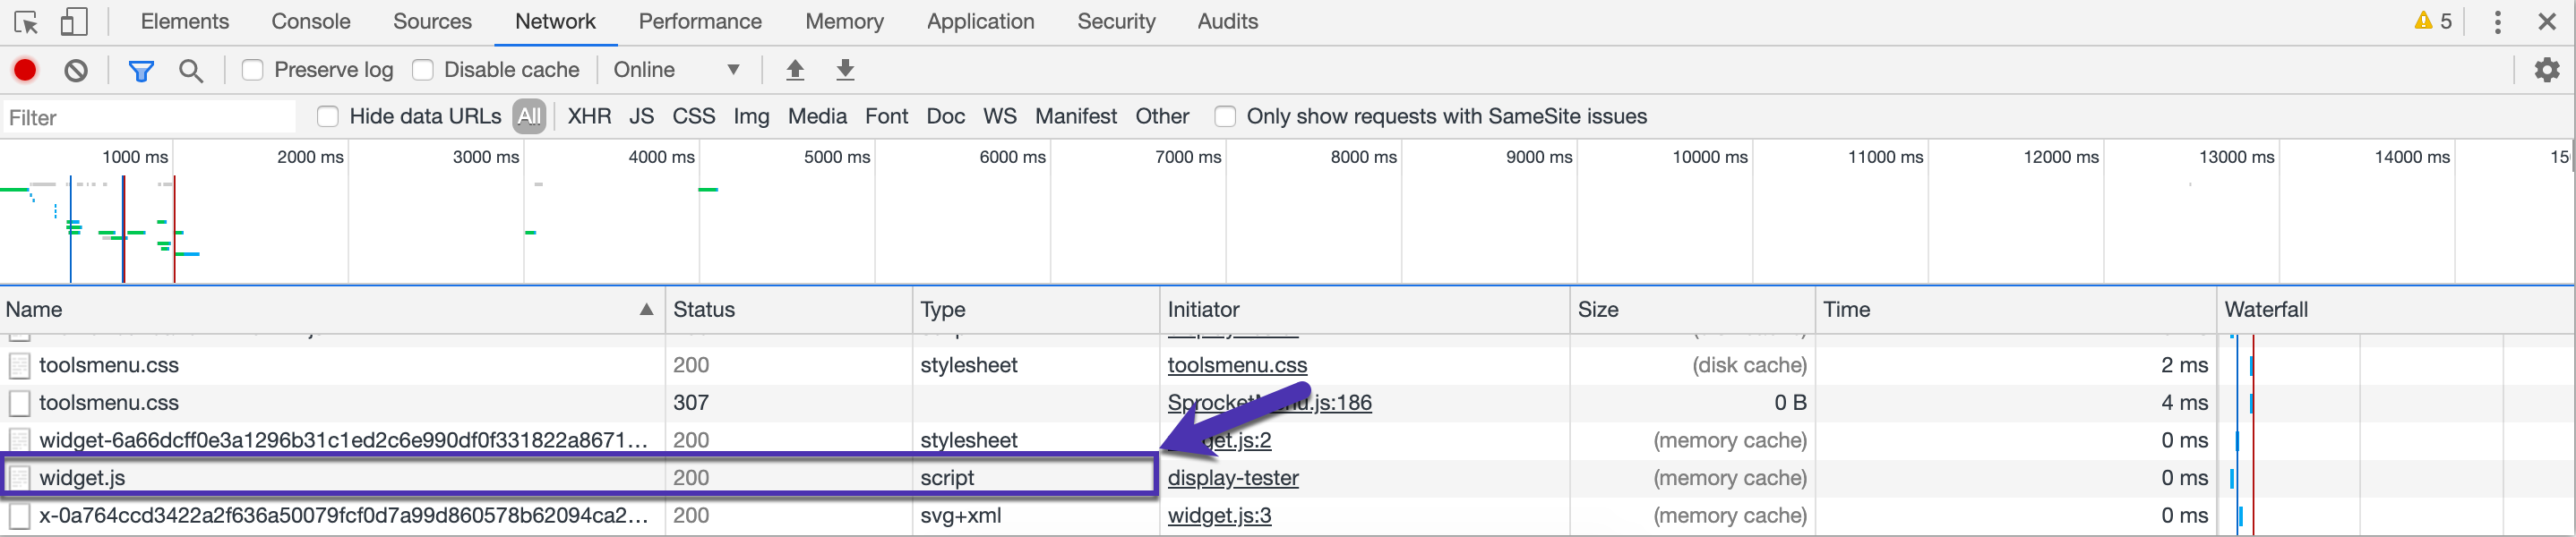
- Open a page on your website and right-click anywhere on the page.
- In the dropdown menu, select Inspect Element or Inspect. A toolbar will appear at the bottom or side of your screen.
- Click the Network tab, then refresh your page.
- Click the Name column to sort the elements alphabetically, then look for widget_.js_.
- Next to widget.js, you should see 304 Not Modified or 200 OK in the Status column.