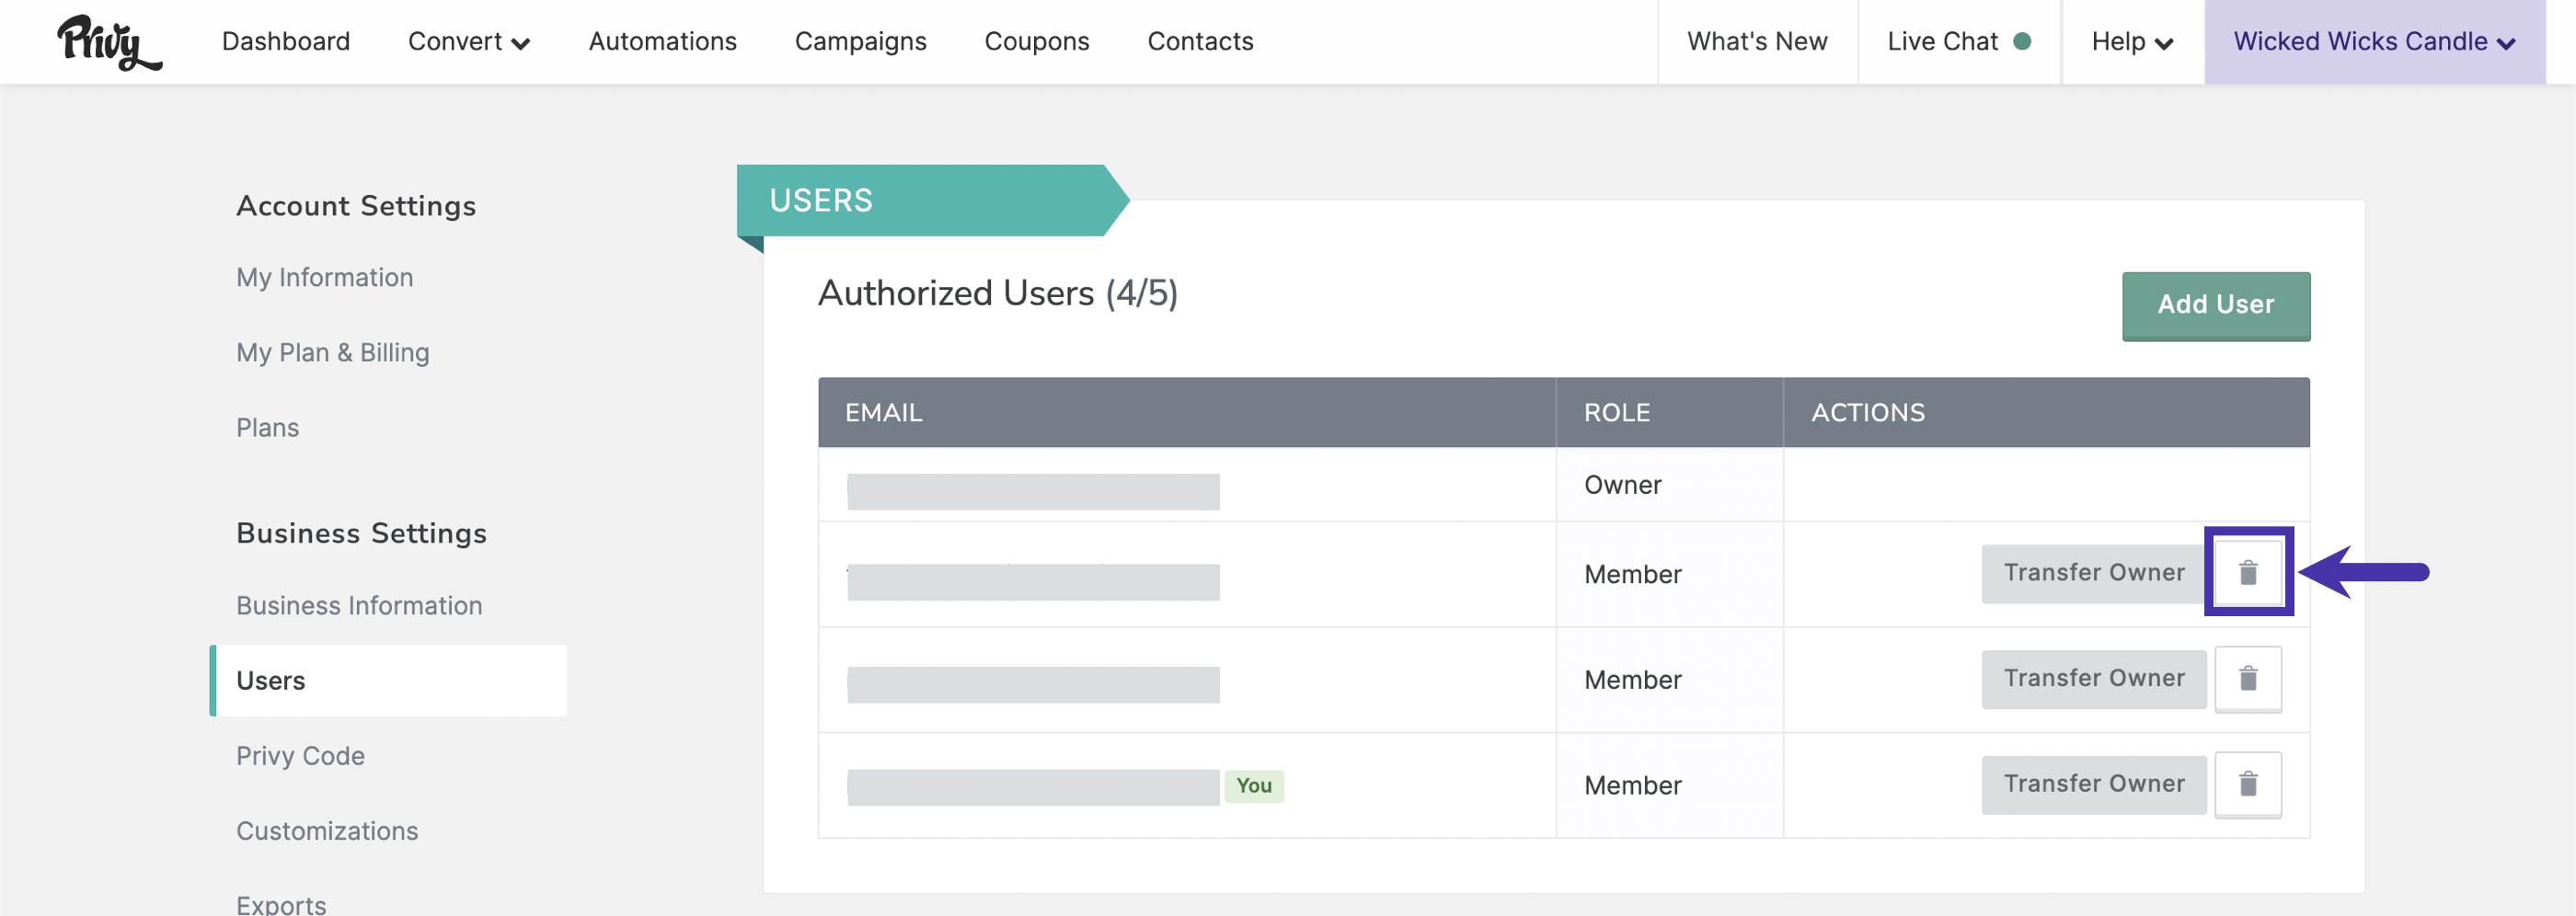
Depending on your role, you can add users, remove users, or transfer ownership of an account.
| Remove User | Add User | Transfer Ownership |
|---|
| Owner | ✅ | ✅ | ✅ |
| Member | ✅ | ✅ | |
Add a user
To add a user to your account:
-
Navigate to Users.
-
Click the Add User button in the upper right corner.
-
Input the user’s email address into the prompt and click Save User.
New users receive a registration email to configure their login information. In contrast, users whose email address is already associated with a Privy account receive a confirmation email. The confirmation prompts them to log in with their existing credentials and allows them to toggle between each account moving forward.

Remove a user
To remove a user from your account:
-
Navigate to Users.
-
Click the Delete button next to the desired user.
-
Confirm your decision by clicking Remove in the prompt.
Once removed, the user(s) will no longer have access to log in to or toggle to your Privy account. If the removed user initially linked another account (e.g., Mailchimp) to Privy, those accounts must be removed and re-added via your Linked Accounts integration settings.
Note: Other users cannot remove an account owner. The owner must transfer ownership to another user in the account before they can be removed.

Transfer account ownership
To transfer ownership of an account:
-
Navigate to Users.
-
Click the Transfer Owner button next to the user you want to make owner.
-
Confirm your decision by clicking Transfer in the prompt.
The account is now assigned to that user. They will receive any account-specific communications from Privy, and the Privy Support Team will defer to them on account management matters. The ownership of each of your subaccounts is reviewable in My Plans & Billing.


