Manage reCAPTCHA settings
reCAPTCHA is a service that protects your website from spam and abuse. reCAPTCHA uses an advanced risk analysis engine and adaptive CAPTCHAs to keep automated software from engaging in abusive activities on your site. It does this while letting your valid visitors pass through with ease.reCAPTCHA and Privy
Any form included in your Privy displays uses Google’s Invisible reCAPTCHA. The “invisible” approach means that most of your visitors will submit a form without ever needing to complete a reCAPTCHA test. In the background, Google scans a visitor’s behavior to determine whether this visitor is abusive, spammy, or a bot. If Google believes one of those is true, the visitor will see a reCAPTCHA test they must complete.Enable or disable reCAPTCHA
To manage your reCAPTCHA settings:- Navigate to the Customizations sections of your Business Settings.
- Scroll down and locate the Invisible reCAPTCHA section.
- Check or uncheck the Enable Invisible reCAPTCHA checkbox and Save.
Enable Google Analytics
To enable the Google Analytics integration in your account:- Navigate to the Customizations sections of your Business Settings.
- Scroll down until you reach the Other Customizations section.
- Enable the Enable Google Analytics setting and Save.
Note: To use this feature, you must already have Google Analytics installed on your website, and it must be a Universal Analytics property. The installation cannot be done via Google Tag Manager. If you have any questions about installing Google Analytics, please visit Google Analytics Support.
What information is available?
Once the integration is enabled, the following events will be available in Google Analytics:- Viewed displays (event action “viewed-campaign”)
- New signups for a display (event action “new-signup”)
Install tracking codes & pixels
Privy supports a wide range of third-party tracking codes and pixels, including those from Google Analytics, Google Adwords, and Facebook Ads. These snippets from external tools work similarly to the Privy code. Once installed on your site, the tracking code or pixel detects site visits. This data becomes the basis for better understanding and addressing your customer behaviors.Install your snippet
To install your third-party tracking code or pixel:- Navigate to the Customizations sections of your Business Settings.
- Paste your snippet into the appropriate field. A snippet placed in the Tracking Pixels section runs on all pages where a display is shown, while a snippet placed in the Conversion Pixels section runs on all pages where a user signs up for a display.
- Once you’ve added your snippet, select the Save Changes option at the bottom of the page.
Customize your snippet
Personalization variables can be added to your snippets by selecting the Add personalization variable dropdown menu. These variables allow you to send additional data to compatible systems by populating the variable with the related information when the code or pixel fires. Customization of third-party codes and pixels is only recommended for advanced users. Changes to these snippets can easily prevent them from functioning correctly. The personalization variables use the open-source Liquid template language.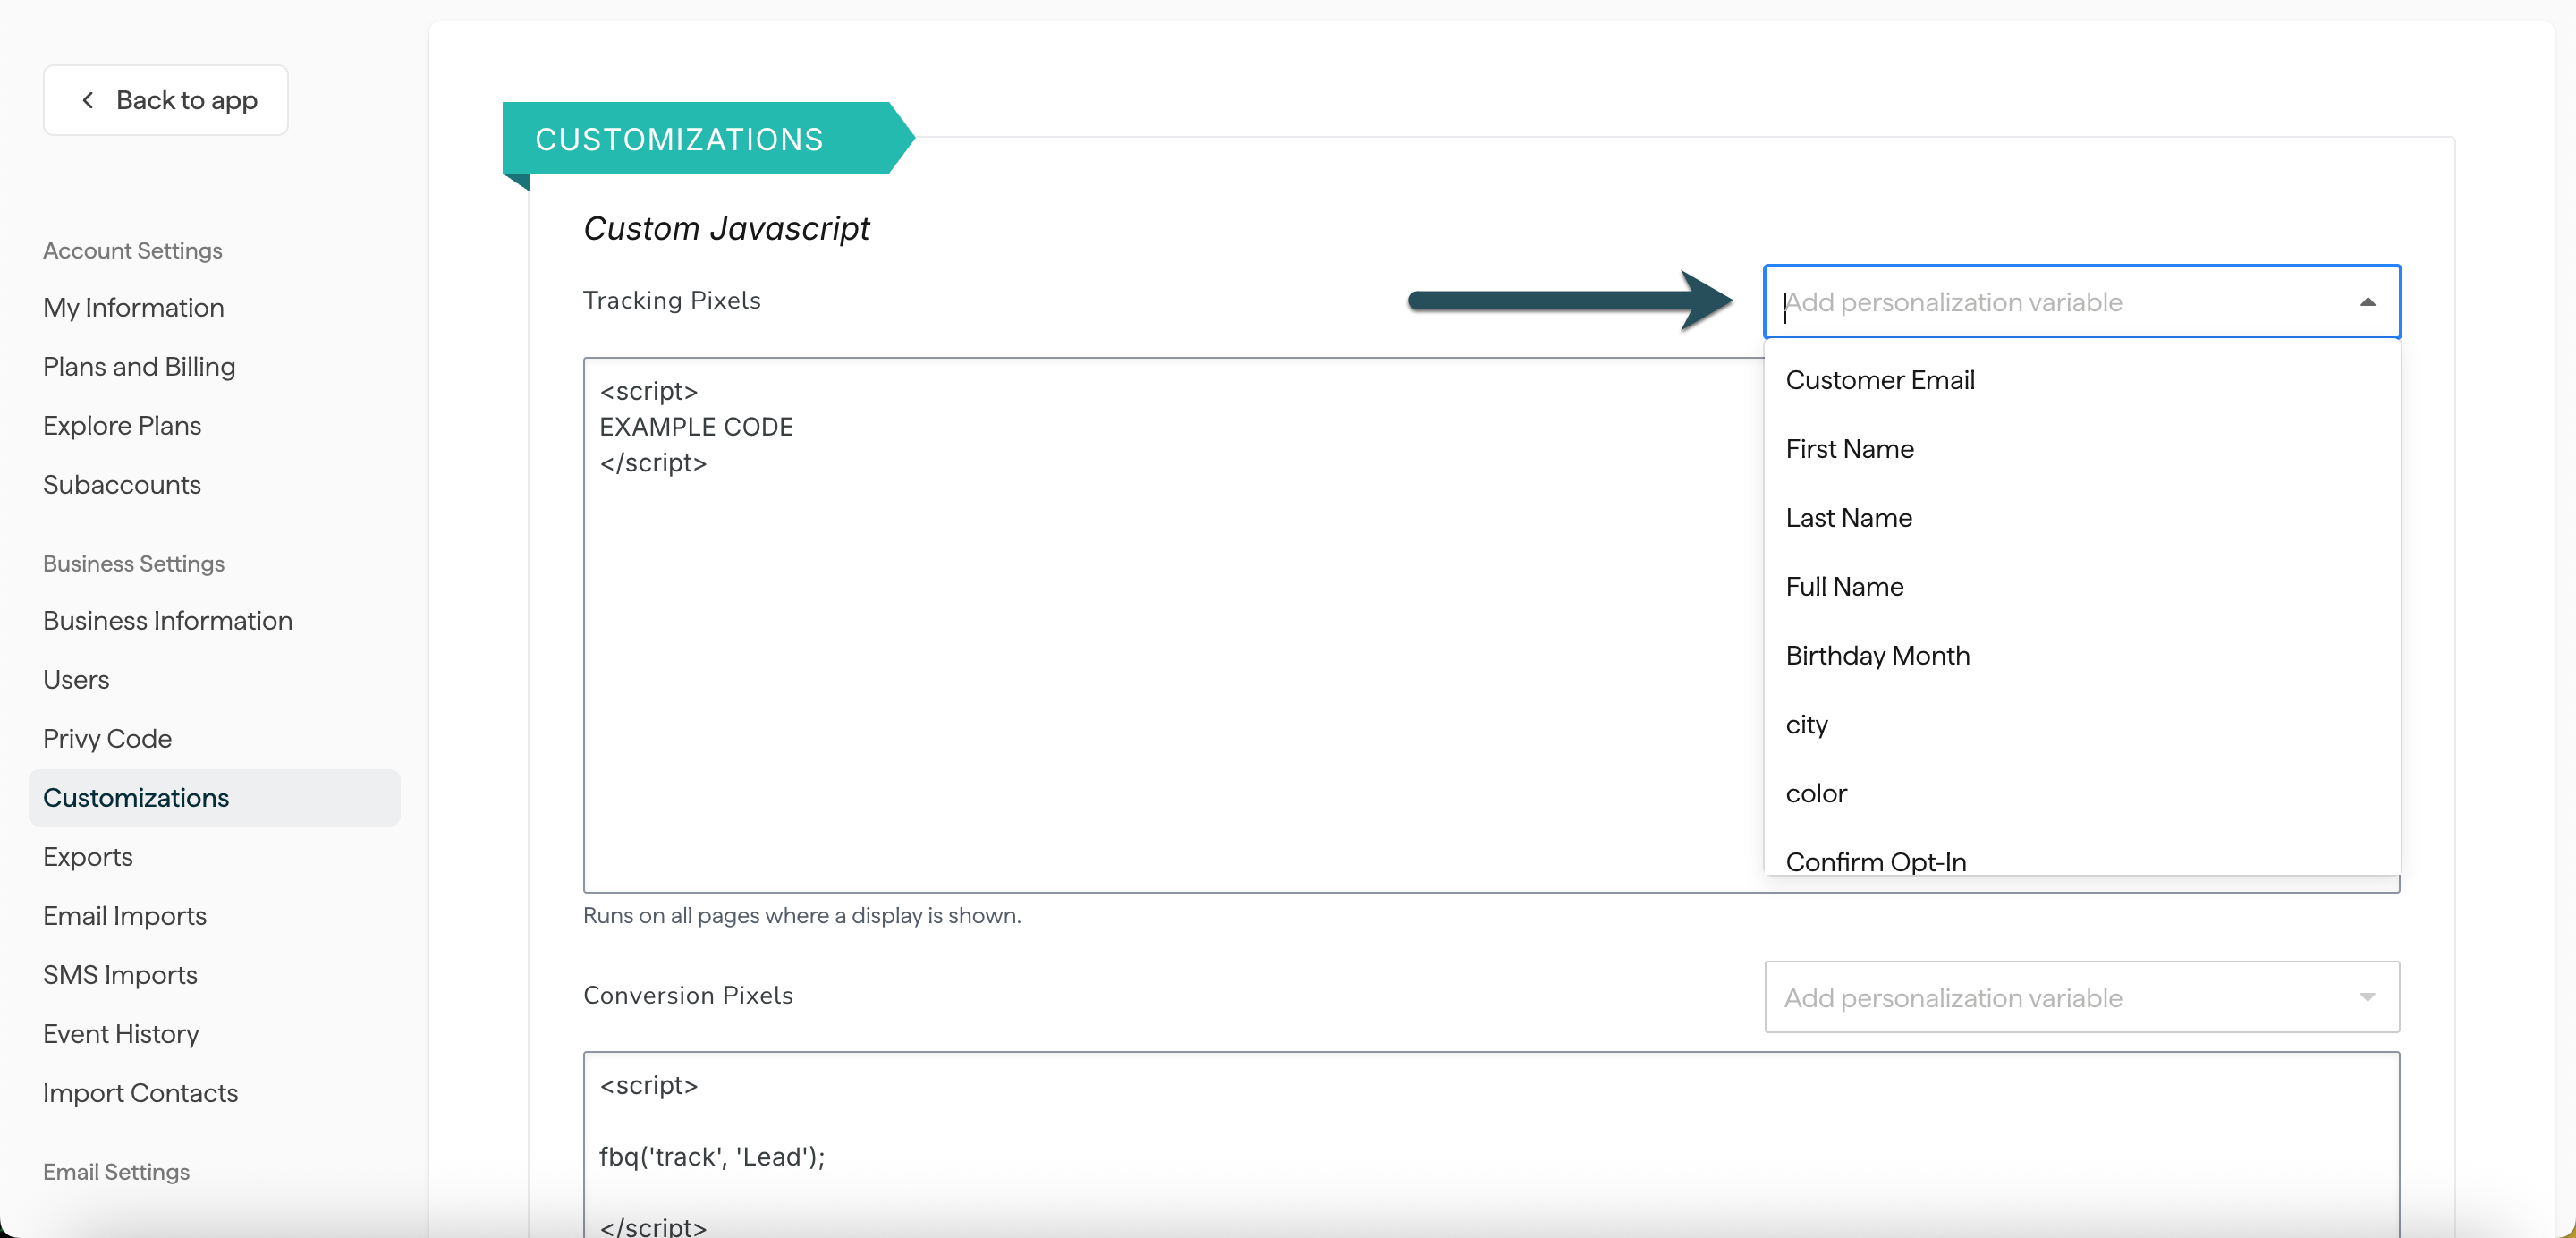
Install a Facebook event code
To track contacts that visit your site from a Facebook ad and then sign up via a Privy form, you can install a Facebook event code on the pages that include your Privy Convert displays. The code will allow you to track these “leads” in your Facebook Ads account.Note: To use Facebook event codes, you must have installed the Facebook Ads tracking pixel. Information on installing third-party pixels is available in the section above.
Copy the event code
To start triggering and tracking these events, you will need to copy this code:Install the event code
To install the event code:- Navigate to the Customizations sections of your Business Settings.
- Paste the copied event code into the Conversion Pixels area.
- Select the Save Changes option at the bottom of the page.
Note: Privy will now fire the pixel after every new form submission. After around 24 hours, you should begin to see lead counts increment in Facebook ads.
Install custom webhooks
If you’re a developer, you can configure webhooks to send from Privy to an external system for signup and order events. To add, edit, or remove webhooks:- Head to your Settings in the lower left of your dashboard, then navigate to the Webhooks page under Integrations.