Setting up the integration
To link your Privy account with your Klaviyo account:- Navigate to your Settings from the bottom left corner of your dashboard.
- Head to your Linked Accounts page from the left side menu.
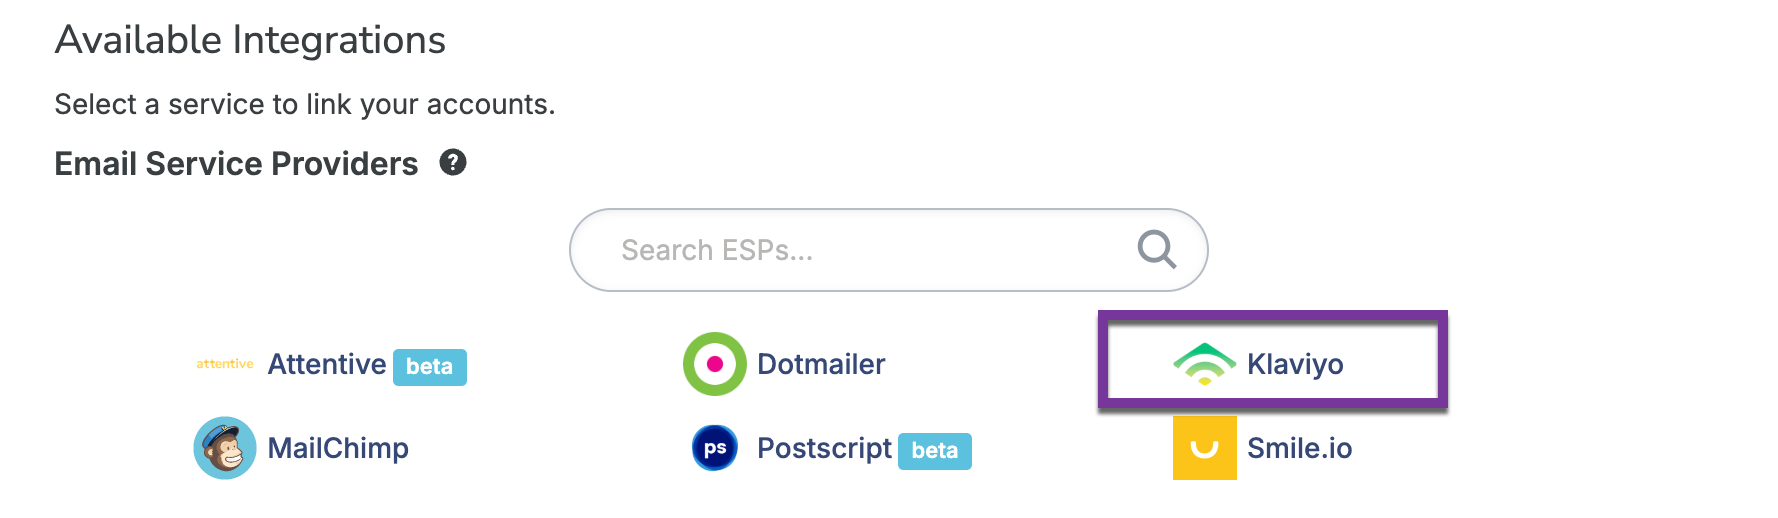
- Select Klaviyo from the list of Available Integrations.
- Create a new API Key in your Klaviyo account.
- Enter your credentials and API Key in the prompt and then select Link Account.
When creating the Public API Key we recommend selecting the option “Grant applications full access for every API scope.
Add a sync rule to your displays
To add a sync rule to a display so that the collected contacts sync to Klaviyo:- Navigate to your Displays from your dashboard.
- Select the display you’d like to sync and navigate to the Settings step of the display builder.
- Click to expand Advanced Settings at the bottom left of the page. Scroll to the Sync Integrations section.
- Select Klaviyo from the dropdown menu, configure the presented options, and Save.
Enabling Klaviyo session cookies in Privy
You can also tag a visitor with a Klaviyo session cookie after capturing an email with a Privy Convert display. This cookie allows you to trigger cart abandonment & browse abandonment emails directly from Klaviyo. To enable this feature:- Navigate to your Settings from the bottom left corner of your dashboard.
- Select Scripts & Tracking from the left navigation (under Advanced) and scroll down to the Other Customizations section.
- Check the Enable Klaviyo Javascript integration setting and then click Save Changes.
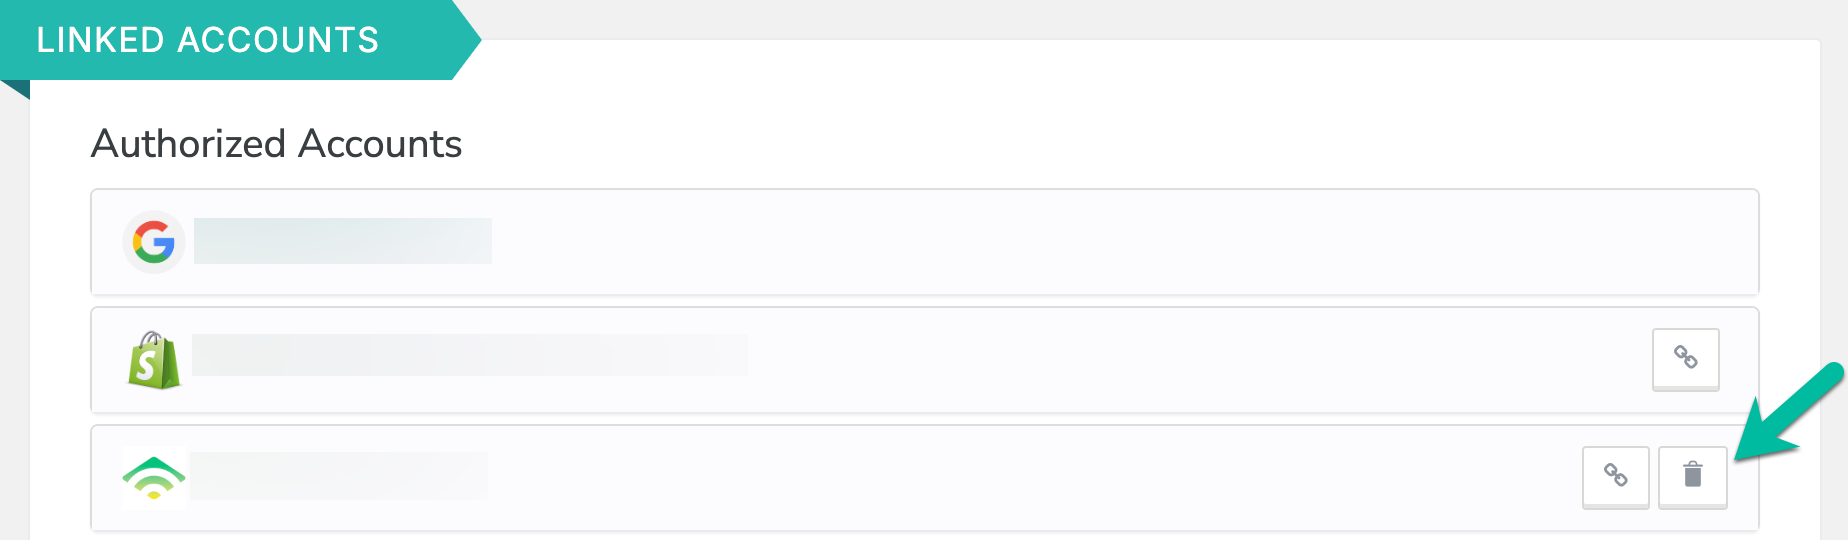
Removing the integration
If you need to disconnect your Privy and Klaviyo accounts, follow these steps:- Navigate to your Settings from the bottom left corner of your dashboard.
- Head to your Linked Accounts page from the left side menu.
- Locate your Klaviyo integration under the Authorized Integrations section and select the Delete icon.