

- Connect your store so Privy can sync your orders.
- Install the Privy code on your site so your displays show and Privy can see visitors’ carts.
Features of the integration
Connecting WooCommerce to Privy will enable the following:- Order sync: Privy imports your last two years of orders when you connect, then receives new orders as they’re placed.
- Purchase history segmentation: build segments from what customers have bought, by order count, order date and the products or product categories they purchased.
- Order Placed flows: start a flow when someone places an order.
- Abandoned cart flows: email shoppers who leave items in their cart. On a headless storefront, your developer sends the cart’s items; see Send cart events from your storefront.
- Abandoned checkout flows: email contacts who start checking out but don’t place an order. On a headless storefront, your developer sends a
checkout_startedevent when checkout starts; see Send cart events from your storefront. - Browse abandonment flows: email contacts who view products but don’t add them to their cart or buy. This needs the Privy code on your product pages.
- Product pickers: choose products and categories from your WooCommerce catalog in segments and flow conditions, instead of typing product IDs.
- Product blocks in emails: show WooCommerce products in your emails, either products you pick or a dynamic block of your newest, best-selling or recently viewed products.
- Revenue attribution: orders count toward the displays and flows that drove them, including guest checkouts.
- Display targeting: target displays by Cart Value, and use the cart value in displays like a free-shipping bar.
- Coupon codes: create WooCommerce coupons from Privy, either a master coupon (one shared code) or a unique coupon (a single-use code for each signup). A coupon can apply to the whole order or only to specific products or categories. Unique codes can expire a set time after they’re issued, such as 14 days after a post-purchase email.
Limitations
- Back-in-stock flows: back-in-stock flows aren’t available for WooCommerce.
- Browse abandonment on headless stores: browse abandonment flows aren’t currently available on a headless storefront.
- Browse abandonment conditions: browse abandonment flows can’t filter by Product Viewed from Collection or Min Price of Products Viewed on WooCommerce.
- Coupons: WooCommerce coupons can’t exclude products or categories, and aren’t added to the cart automatically after a signup. Unique coupons can’t be used in campaign emails.
Connect your store
Before you connect
- Your store must use HTTPS with a valid certificate.
- In WordPress, go to Settings > Permalinks and make sure it’s set to anything other than Plain. WooCommerce’s API doesn’t work with plain permalinks.
- You must be able to sign in to WordPress as an administrator, or as a user who can manage WooCommerce.
Connect WooCommerce to Privy
1
Open the WooCommerce integration
In Privy, go to Settings > Integrations Hub and select WooCommerce. This option is only available if your Privy account isn’t already connected to another store.
2
Enter your store address
Enter the address where WooCommerce is installed, like
store.example.com, and click Connect. If your storefront is a separate site from WordPress, use your WordPress address, not the one customers visit.3
Approve the connection
You’ll be taken to your store. Sign in to WordPress if asked, then click Approve. Privy asks for read and write access so it can read your orders and set up the notifications that send new orders to Privy.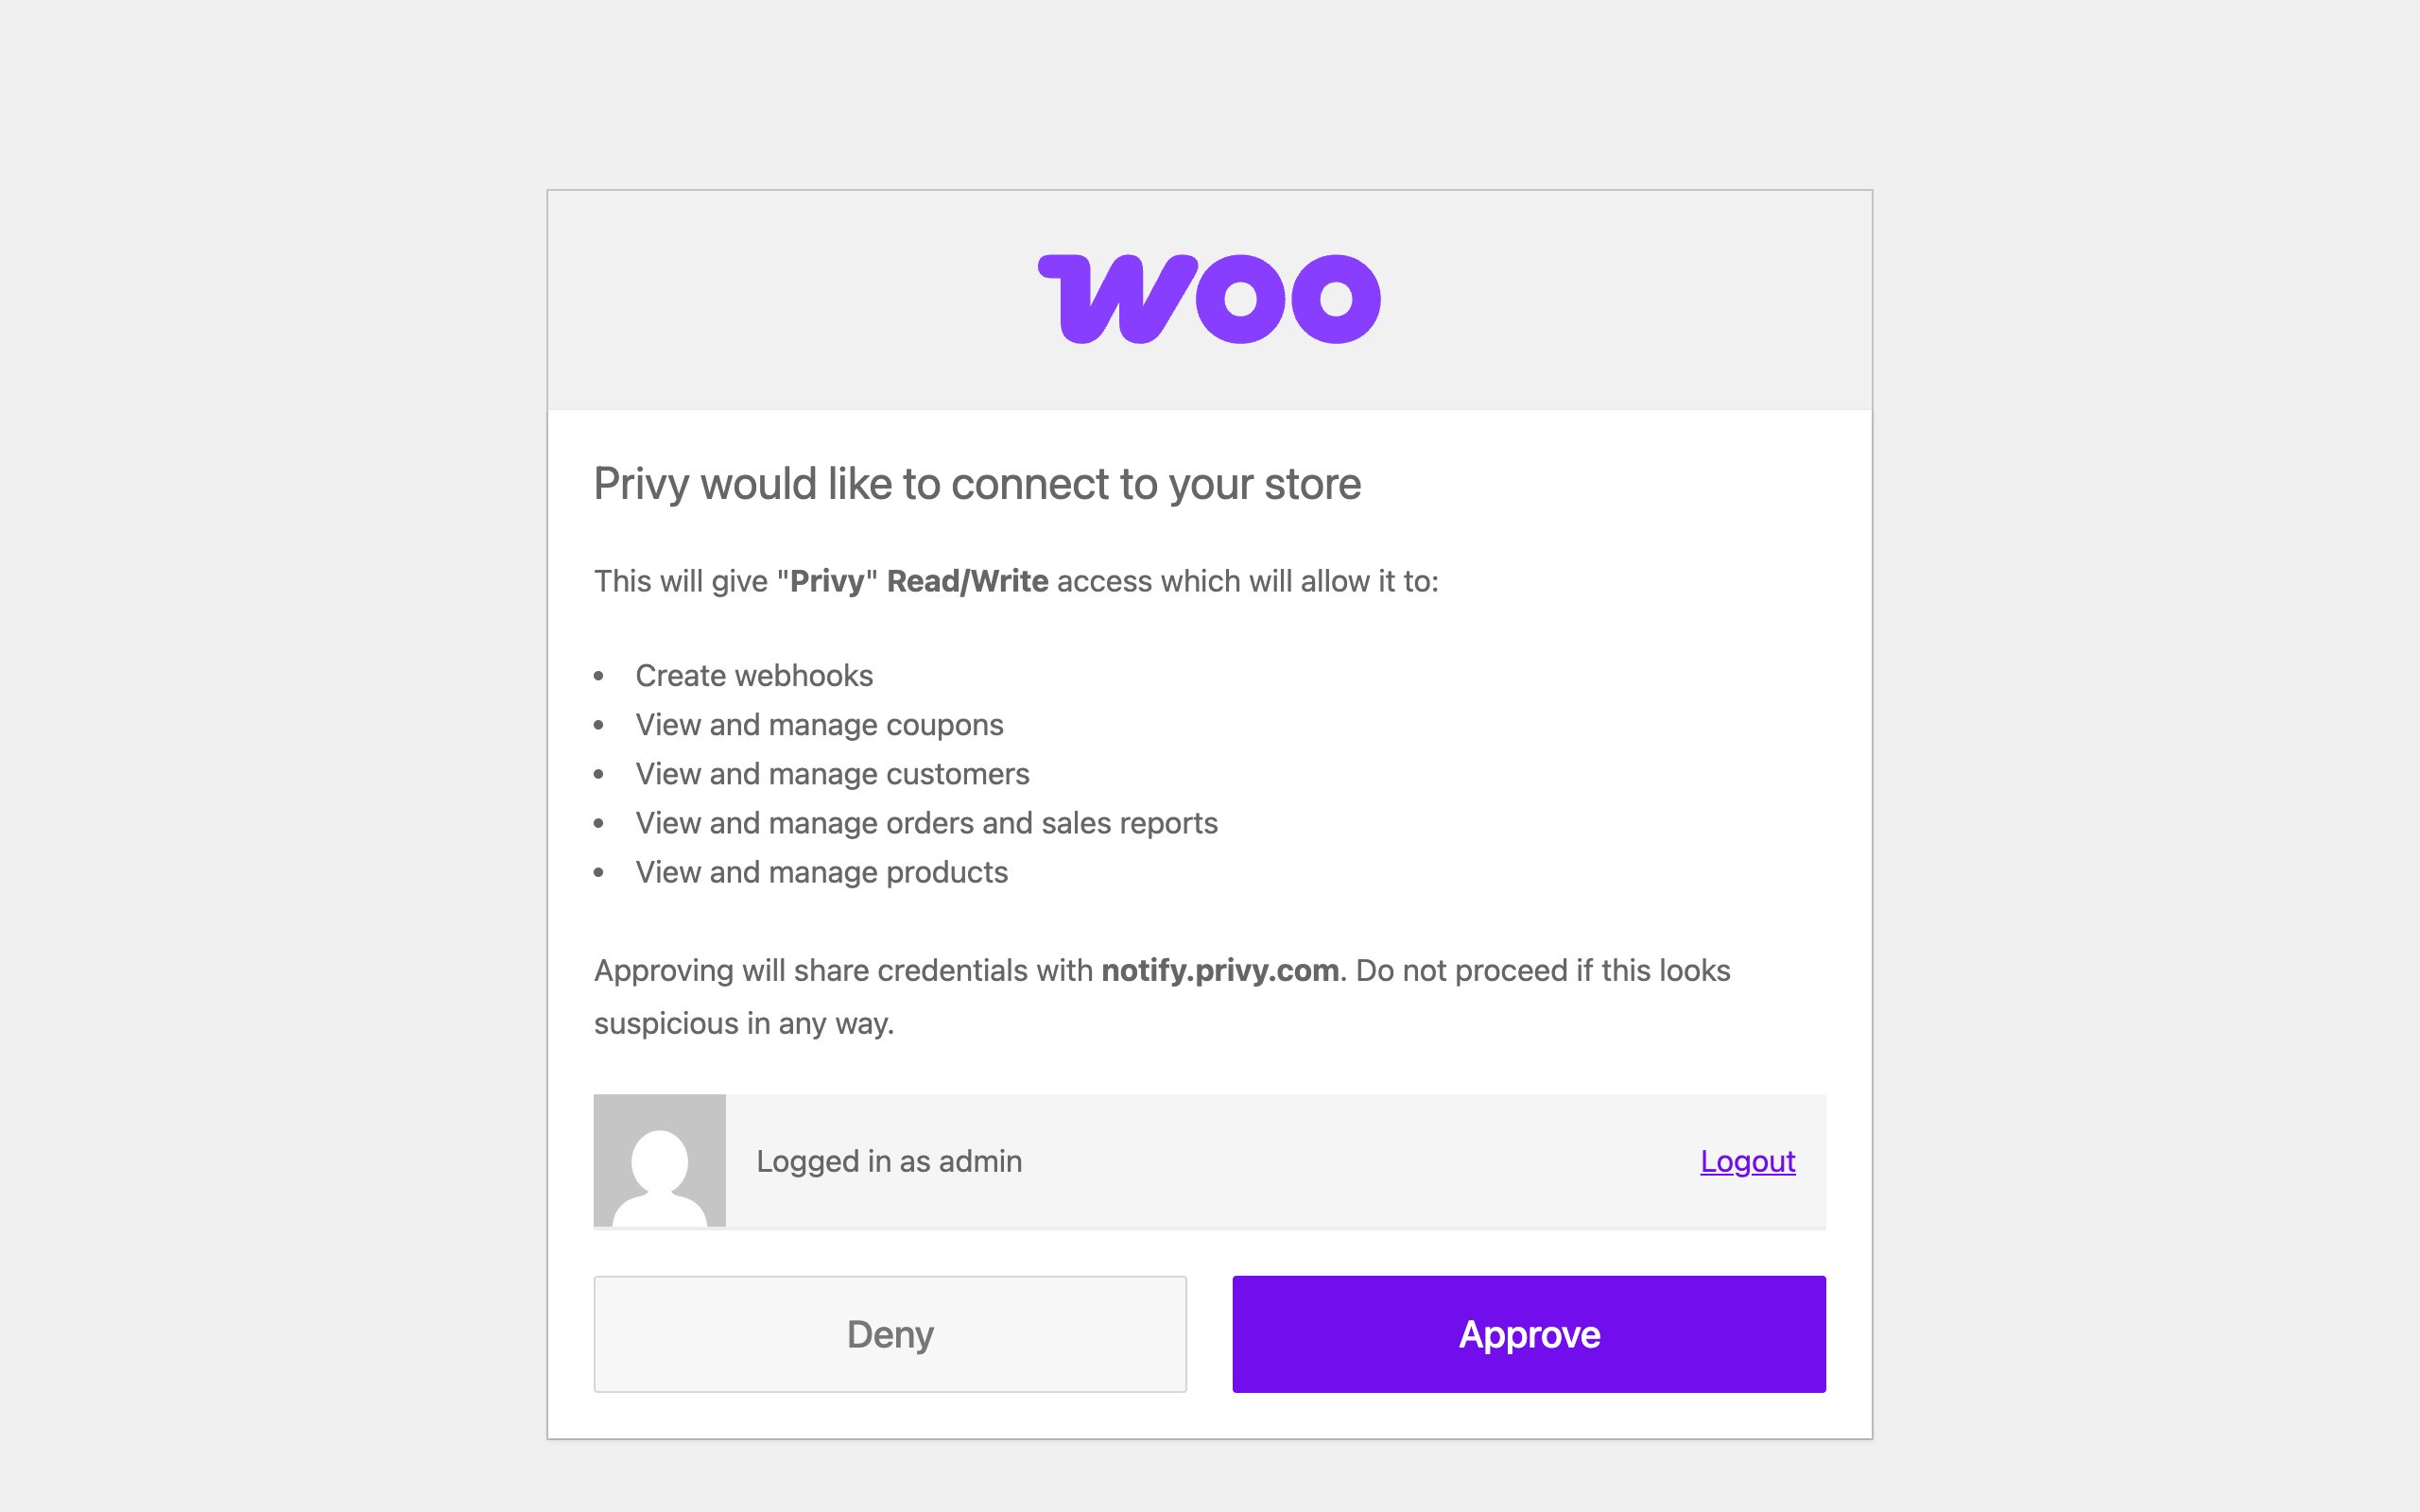
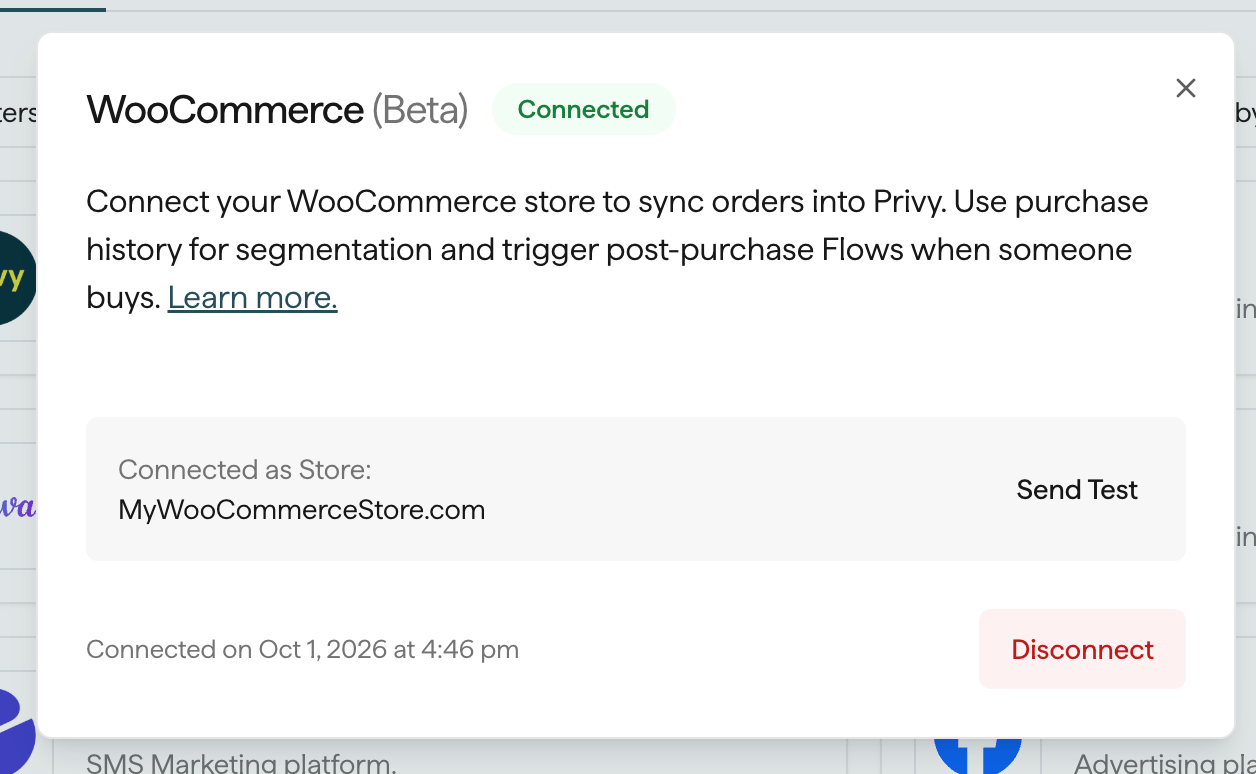
Connect from the Privy plugin
If you use the Privy plugin, you can start from WordPress instead. Go to Settings > Privy and click Connect to Privy. Privy opens with your store address filled in. Click Connect, then approve the connection as above. New to Privy? Create your account first, then click Connect to Privy again. Once your store is connected, the plugin’s settings page shows “Your store is connected to Privy”. If the plugin’s account identifier is empty when your store connects, Privy fills it in, so you don’t need to copy it from Privy. Privy never replaces an identifier you’ve already entered.Install the Privy code
The easiest way is the Privy plugin for WordPress. It adds the code to every page of your store, including your cart and checkout pages, and keeps it there when you change themes.Install without the plugin
If you can’t use the plugin, go to the Privy Code page in your Privy settings and copy your code. Either version works; the description under each explains how it loads. Then add the code to the<head> of every page on your store, including your cart and checkout pages. The most common ways are:
- A header code plugin, such as WPCode: add the code as a snippet that loads in the site-wide header. This works with any theme, and theme updates don’t remove it.
- Your theme’s settings: many themes have a field for header scripts or custom code.
- Your theme’s header:
- On a block theme, go to Appearance > Editor > Patterns > Header, and add a Custom HTML block with the code to your Header template part. Add it to the Checkout Header template part too, because your checkout page uses its own header.
- On a classic theme, add the code to your theme’s
header.php, just before</head>. Use a child theme if you have one, because a theme update replaces the parent theme’s files.
Headless stores
If your storefront is built outside WordPress, add the Privy code to your storefront instead, before the</head> tag. Privy can’t read the cart on a headless storefront by itself, so your developer will need to send it. See Send cart events from your storefront.
Verify the installation
If you use a caching plugin, clear its cache first. Once your store is connected, go to Settings > Integrations Hub in Privy, select WooCommerce, and click Check my install. Privy checks your homepage, a product page and your cart page for the Privy code. It can’t check your checkout page. If a page shows Different Privy account, the code there belongs to another Privy account, so replace it with yours. On a headless store, enter your storefront’s address under Storefront address in the same place and click Save first. Privy then checks your storefront’s homepage only. To check by hand, open a product page on your store, right-click, and select View page source. Search forwidget.privy.com. If it’s there, the code is installed. Then add something to your cart and check your cart and checkout pages the same way, so you know it’s on every page.
Ad blockers can stop Privy from loading, so if your displays don’t appear, check in a private window with extensions turned off.
For more ways to check, see Verify the installation.
Disconnect your store
In Privy, go to Settings > Integrations Hub, select WooCommerce, and click Disconnect. Privy stops syncing orders right away. If the Privy Website Widget plugin (version 2.1 or later) is active on your store, Privy also removes the WooCommerce API key it created for Privy. Without the plugin, WooCommerce keeps the key, since it doesn’t let apps remove their own keys. To remove it yourself, or if it’s still listed after you disconnect, go to WooCommerce > Settings > Advanced > REST API in WordPress, and click Revoke on the key whose description starts with Privy - API. The Revoke link appears when you hover over the key.
Troubleshooting
My displays show on my homepage but not on other pages
The Privy code was probably added to a single page template instead of your header. Move it to your site-wide header (see Install the Privy code), then check your cart and product pages again.I don’t want displays on my checkout page
Keep the code on checkout so Privy can still track the cart there, and add a Current URL targeting rule to each display that excludes your checkout page.I changed my theme and my displays aren’t appearing
Code added to a theme only belongs to that theme. Add it to your new theme, or use the Privy plugin or a header code plugin so it doesn’t depend on your theme. See Install the Privy code.My coupon code doesn’t show after someone signs up
Check that the coupon is selected in the display’s settings, and that the display’s thank-you step uses the{{signup.coupon_code}} merge tag.