Send a Customer Winback Email
Customer Winback Emails let you automatically engage with customers who haven't bought from you in a while. This is big because Winback Emails are a crucial component of any customer retention strategy. No matter what you're selling, you should be sending Winback Emails to encourage existing customers to return to your store. The repeat customers created as a result of your actions are 9x more likely to convert, spend 3x your average order value, and are 20% more profitable for your business.
Note: To send Customer Winback Emails, you need to be integrated with BigCommerce, Shopify, Shopify Plus, or Wix so that your customers' order history is available to Privy.
Customer Winback best practices
Make contacts feel noticed. Let your contacts know that you've noticed their absence. Using subject lines that include phrasing like "It’s been a while" or "We've missed you" makes it clear why they're hearing from you and helps make them feel valued.
Update and incentivize. Let your contacts know what they've missed since becoming inactive. An update often includes new products, new policies (e.g., Support, Warranties, etc.), or other important changes that add value to their relationship with your business. If contacts feel like they’ve missed out on something, they’ll be more likely to return. To drive this point home and create some urgency, consider including a temporary discount or promotion.
Allow for easy communication management. Don't be afraid to prompt your contacts to unsubscribe from your emails if they no longer want to hear from you. This approach helps you avoid the spam folder for email clients that learn from users’ neglectful behaviors. For example, if a customer using Gmail never opens your emails, they’re more likely to be filtered into the spam folder.
Remain positive. A winback email shouldn't make the recipient feel guilty. The content should remain positive and encourage/empower the contact to return.
Create and send a Winback Email
To create a customer winback email:
- Navigate to Automations > New automation.
- Select the Customer Winback option. This action opens Privy's 3-Step email editor.
1) Design the email
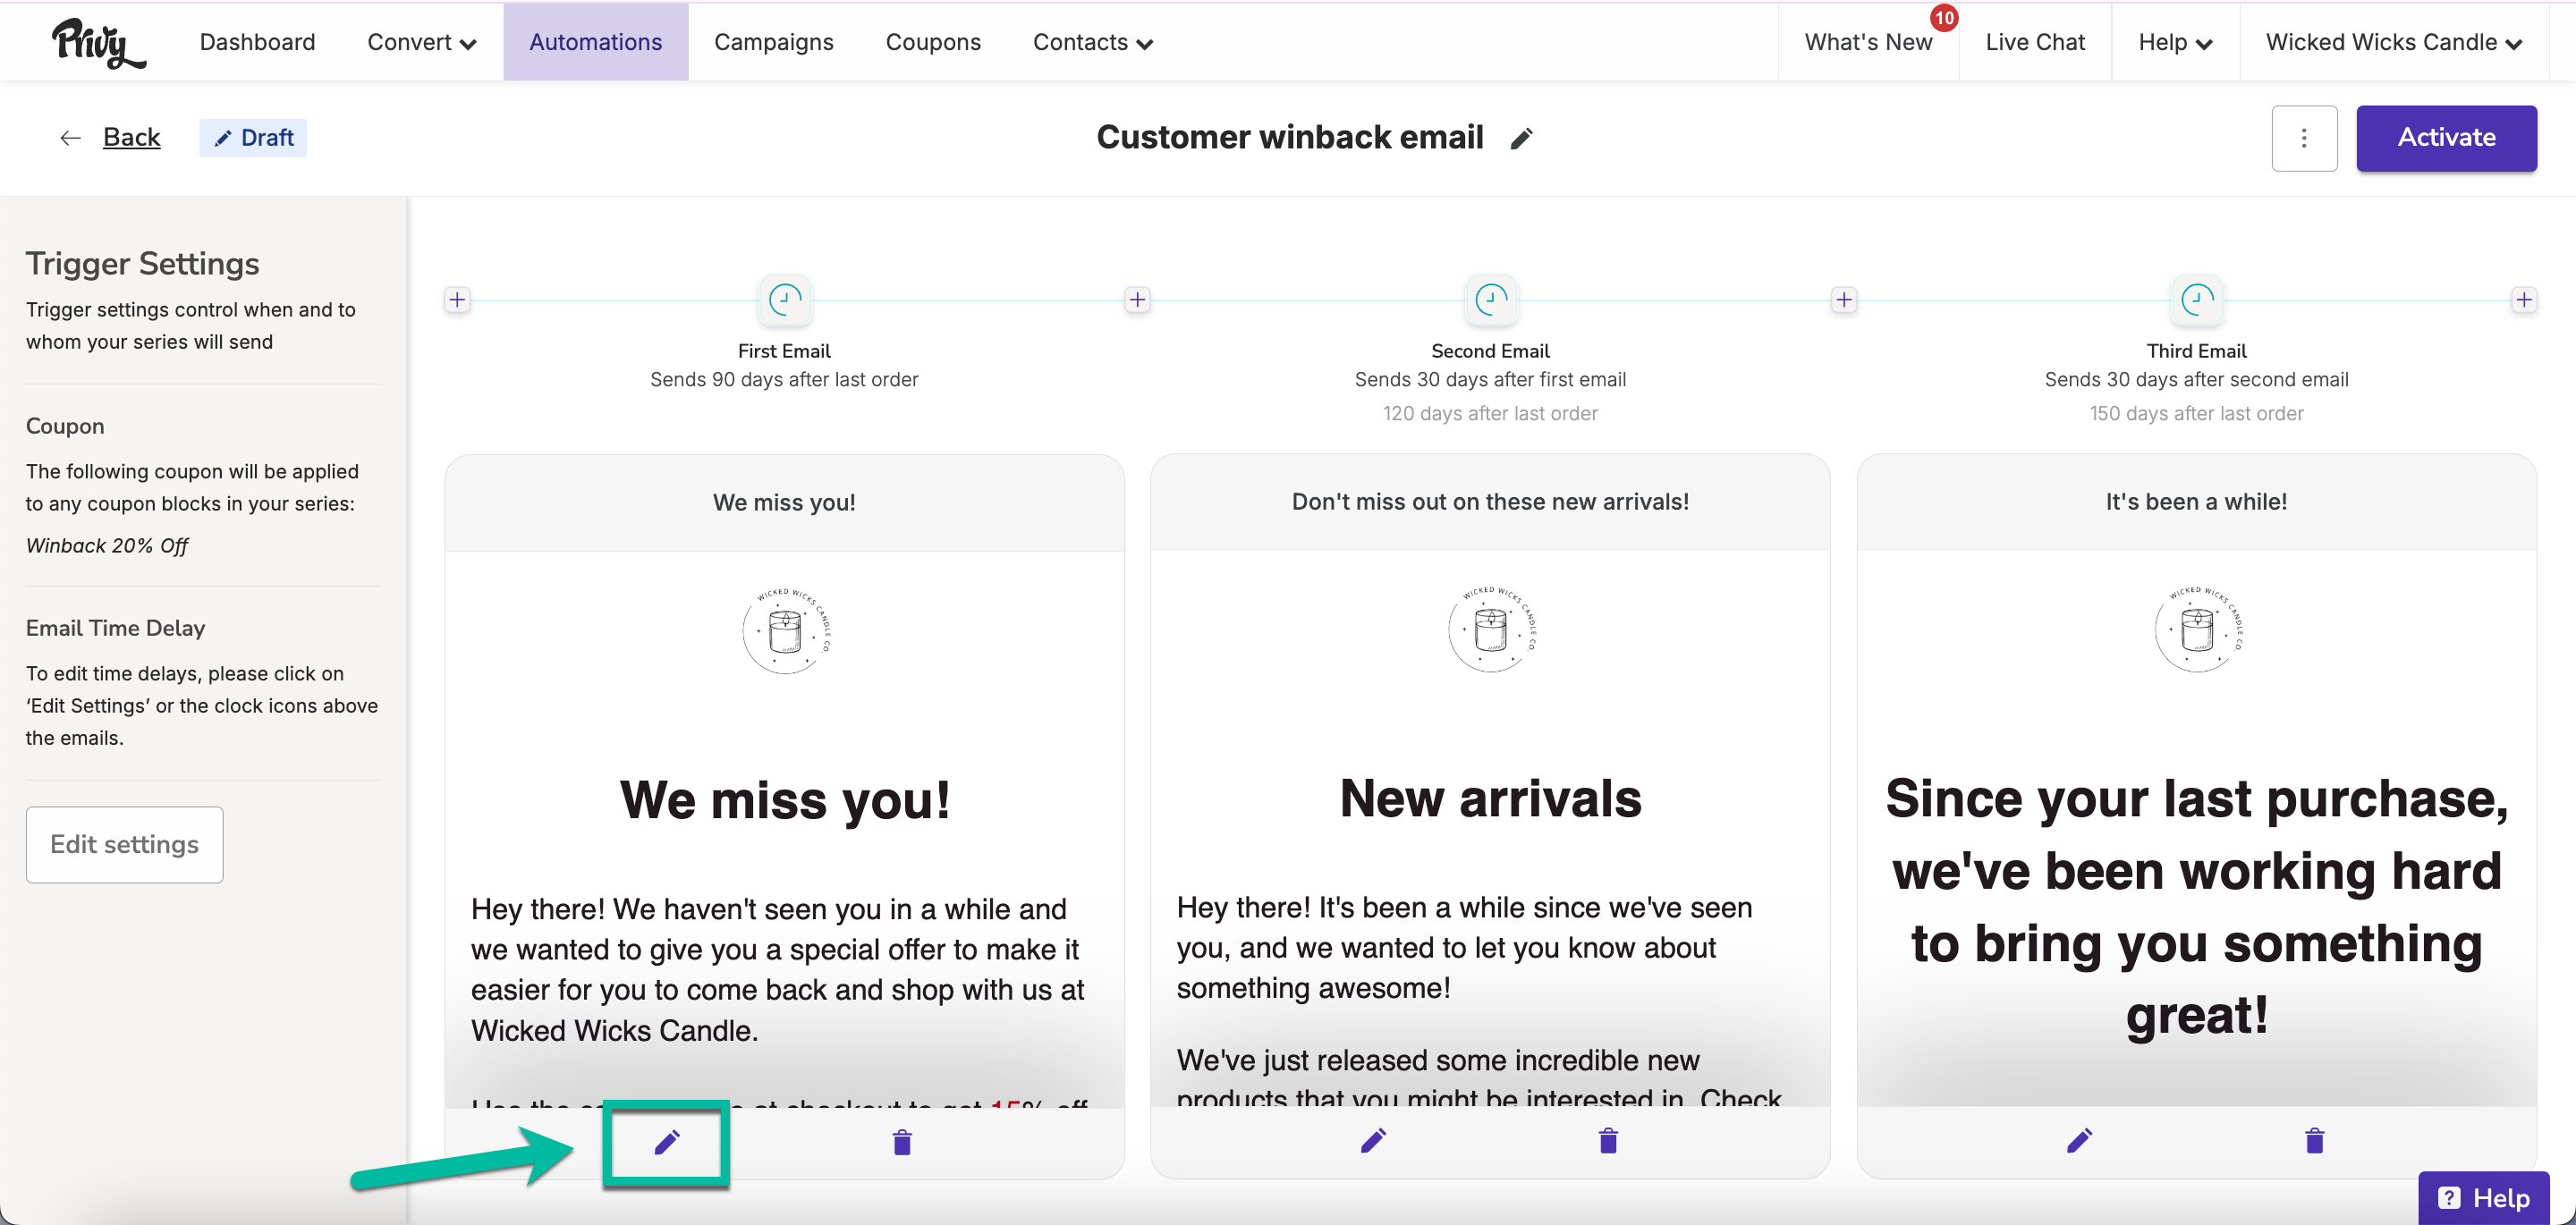
- Edit the content of your email using the drag-and-drop email editor. A basic example is provided automatically; however, this starting point can be changed by selecting Templates > Choose a Template from the editor’s toolbar. Once a template is selected, click the Save button to have it applied to the email.
- Make sure to select the Save button at the top-right after making your changes.
Consider offering an incentive
Customer winback emails are a fantastic place to offer a coupon because it typically costs five times more to get a new customer than it does to keep a customer you already have. With this in mind, it's easy to see how an email with some compelling copy that rekindles the customer interest coupled with a small discount or gift can have some serious dividends over the long term.
- To add a discount to your customer winback email, either:
- Click into a content block that contains text and input or insert the Coupon Code merge tag, which appears like this: {{ coupon_code }}. This tag will populate with the coupon code when the email is sent to customers. Make sure to include appropriate positioning text near the code so that it is easy for the recipient to understand what they are receiving.
- Drag and drop the Coupon element from the sidebar into your email and select the desired coupon from the prompt. Also, make sure to include appropriate positioning text near the code so that it is easy for the recipient to understand what they are receiving.
- Make sure to select the Save button at the top-right after making any changes.
Learn more about personalizing your messaging with merge tags in this guide, and about inserting coupons into your content in this guide.
Configure the sending information
Next, click on the sender info section at the top of the email editor and configure the options.
- Confirm or select a reply-to address. Any replies to the email will go to this address.
- Edit the subject line. Keep it interesting, on-brand, and concise. A subject line no longer than 7 words or around 40 characters is recommended.
- Provide preview text. The text appears after your subject line when viewing the email in the inbox and allows the addition of compelling copy that helps boost open rates and engagement. The text should be 35 to 55 characters and supports Merge Tags.
Please make sure to select the Save button at the top-right after making your changes.
Note: To update the default From Name and Address used for your emails, navigate to the Sender Options section of your account settings. Additionally, consider updating your sending domain so you can use custom addresses associated with your domain and improve your deliverability.
2) Preview and test the email
With an email customized, return to the top of the email editor and click the Next button to preview the email in desktop and mobile views. If you are unable to click the button, make sure you've saved your most recent changes. To preview the email in your actual inbox, select the Send Test Email button. The test is sent to the email address associated with your Privy login credentials.
3) Configure the email settings
With your design previewed and tested, return to the top of the email editor and click the Next button to configure the email's trigger and coupon settings. Click the Edit button next to the settings you'd like to change. The following trigger settings are available:
Set the days since the last order. Specify how many days should pass between a customer's last purchase and the Winback email sent.
Determining the appropriate timing depends on your industry and the types of products you sell. Take some time to review your typical sales cycle and determine the frequency you can expect customers to buy. For example, if you sell mattresses, you’d expect customers to purchase a lot less frequently than a store that sells makeup or clothing.
Note: The trigger setting is retroactive. If an order were placed before the Customer Winback email was activated, that order would receive a Customer Winback email once the timing trigger has been achieved.
After editing the trigger settings, please select the section’s Save button.
Confirm the coupon settings
Next, if you included a coupon code in your email, make sure you've selected a code from the dropdown in the Coupon section of your email settings. If you'd like to include a coupon, but none are available in the dropdown, learn how to create coupon codes in this guide.
Name the email
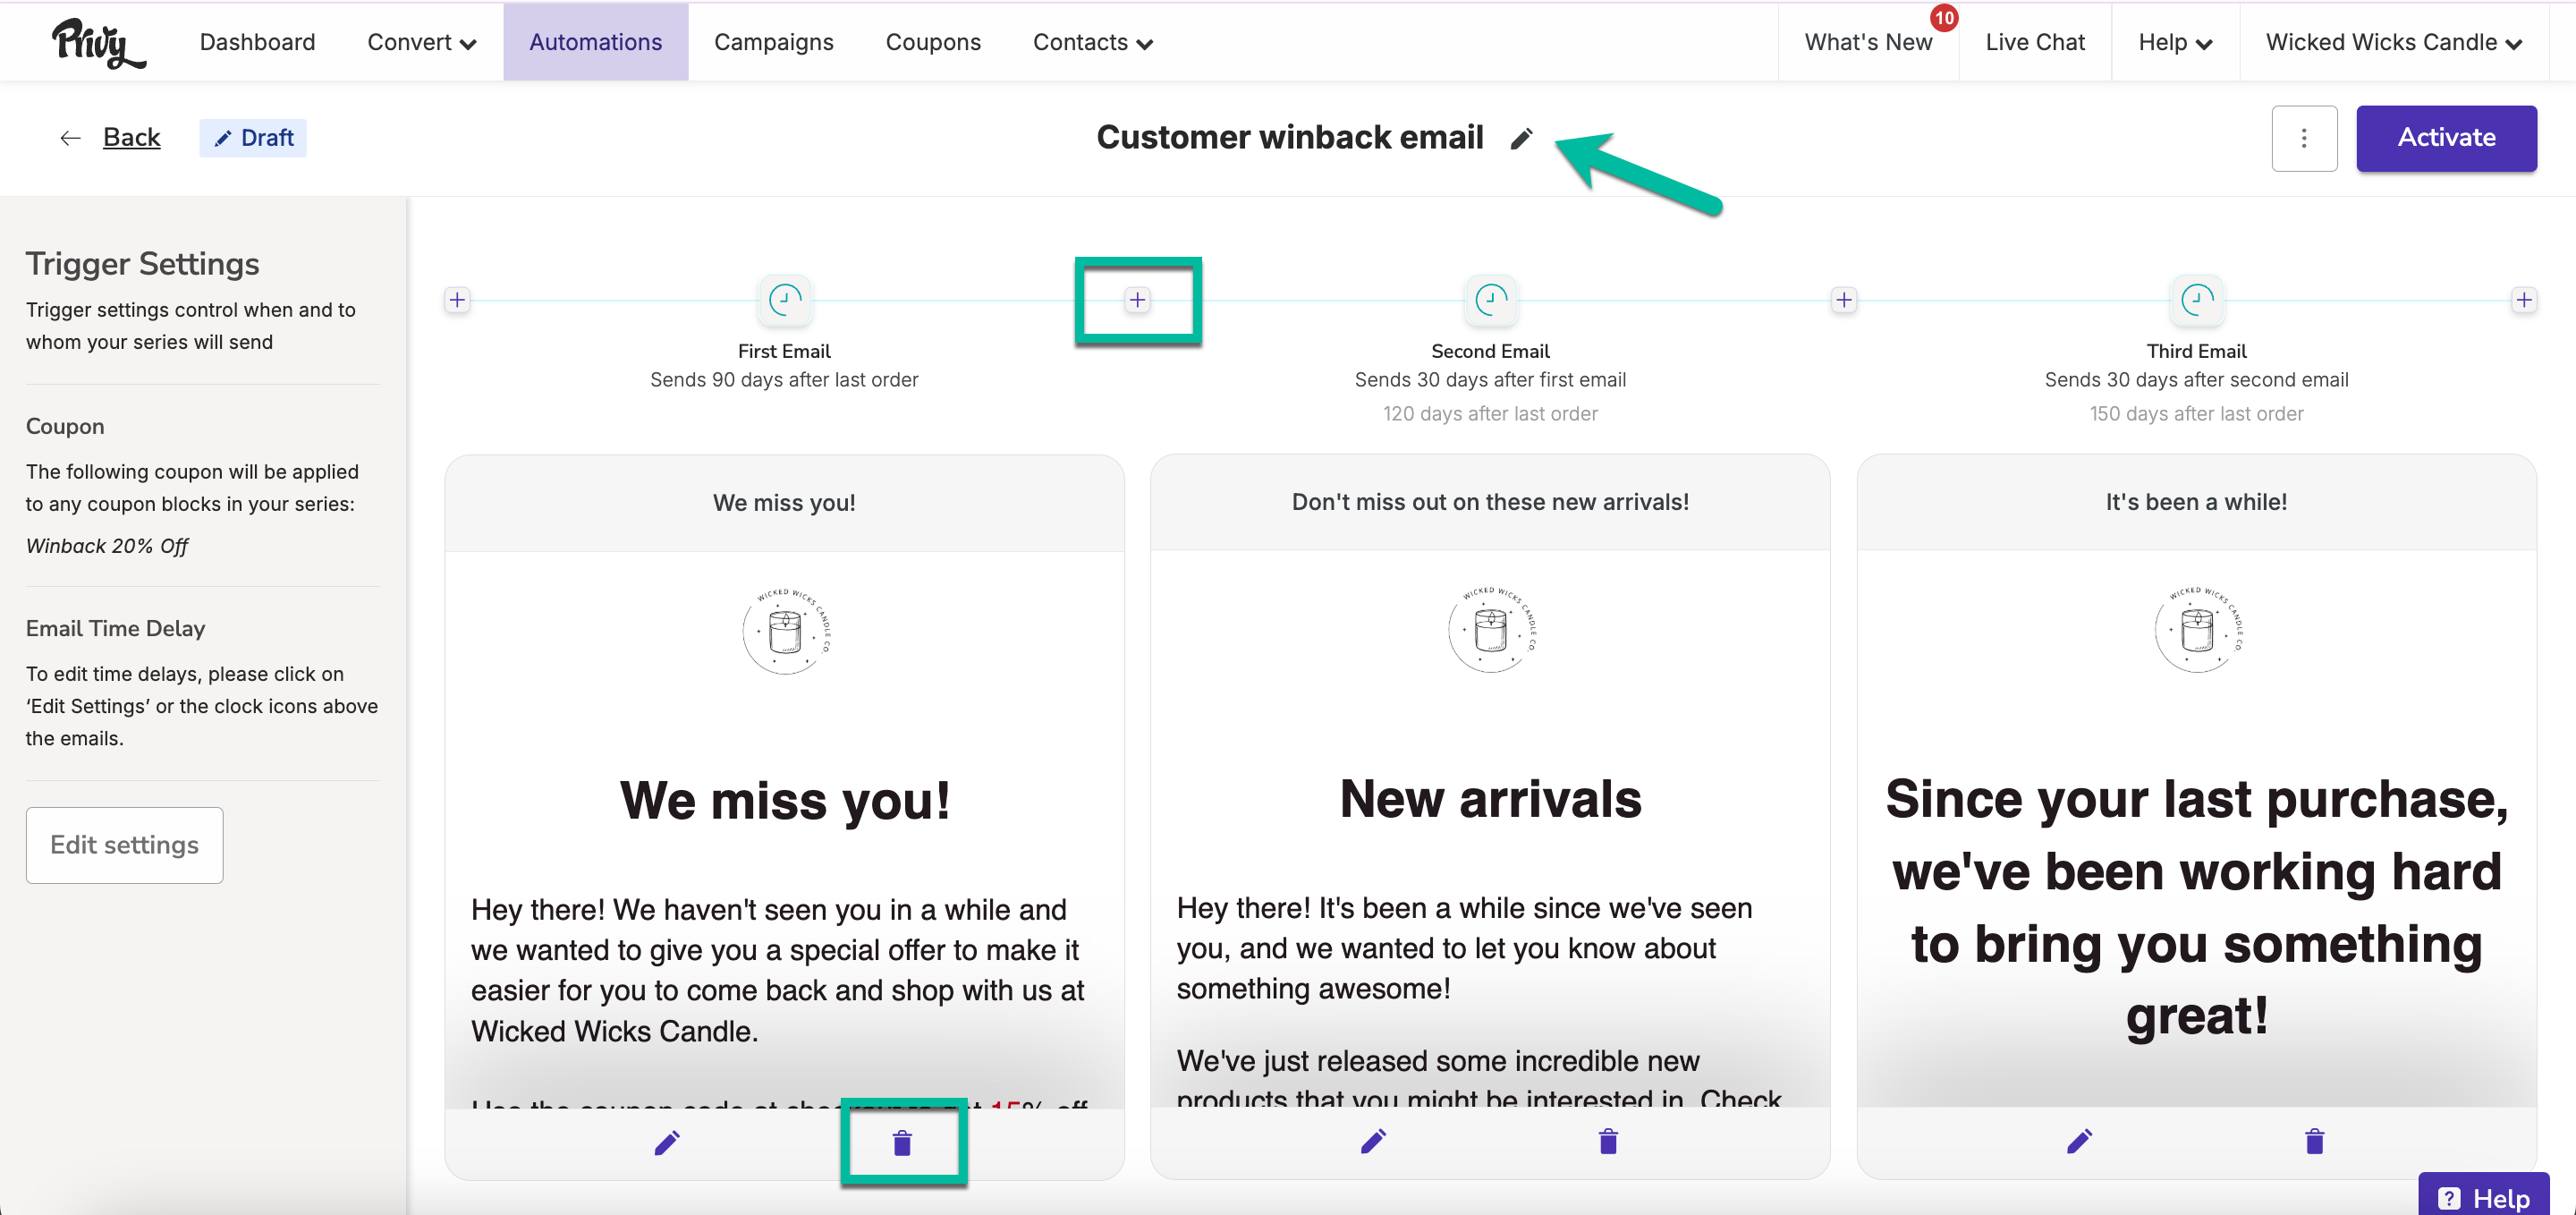
- Name the email by clicking the Edit Title() icon, providing a non-default name, and clicking the Update button. This name change will make it easier to locate the email for additional edits or a performance review post-send.
Activate the email
To activate an email once its design, content, and settings are customer-ready:
- Click the Save button in the email builder if you haven't already.
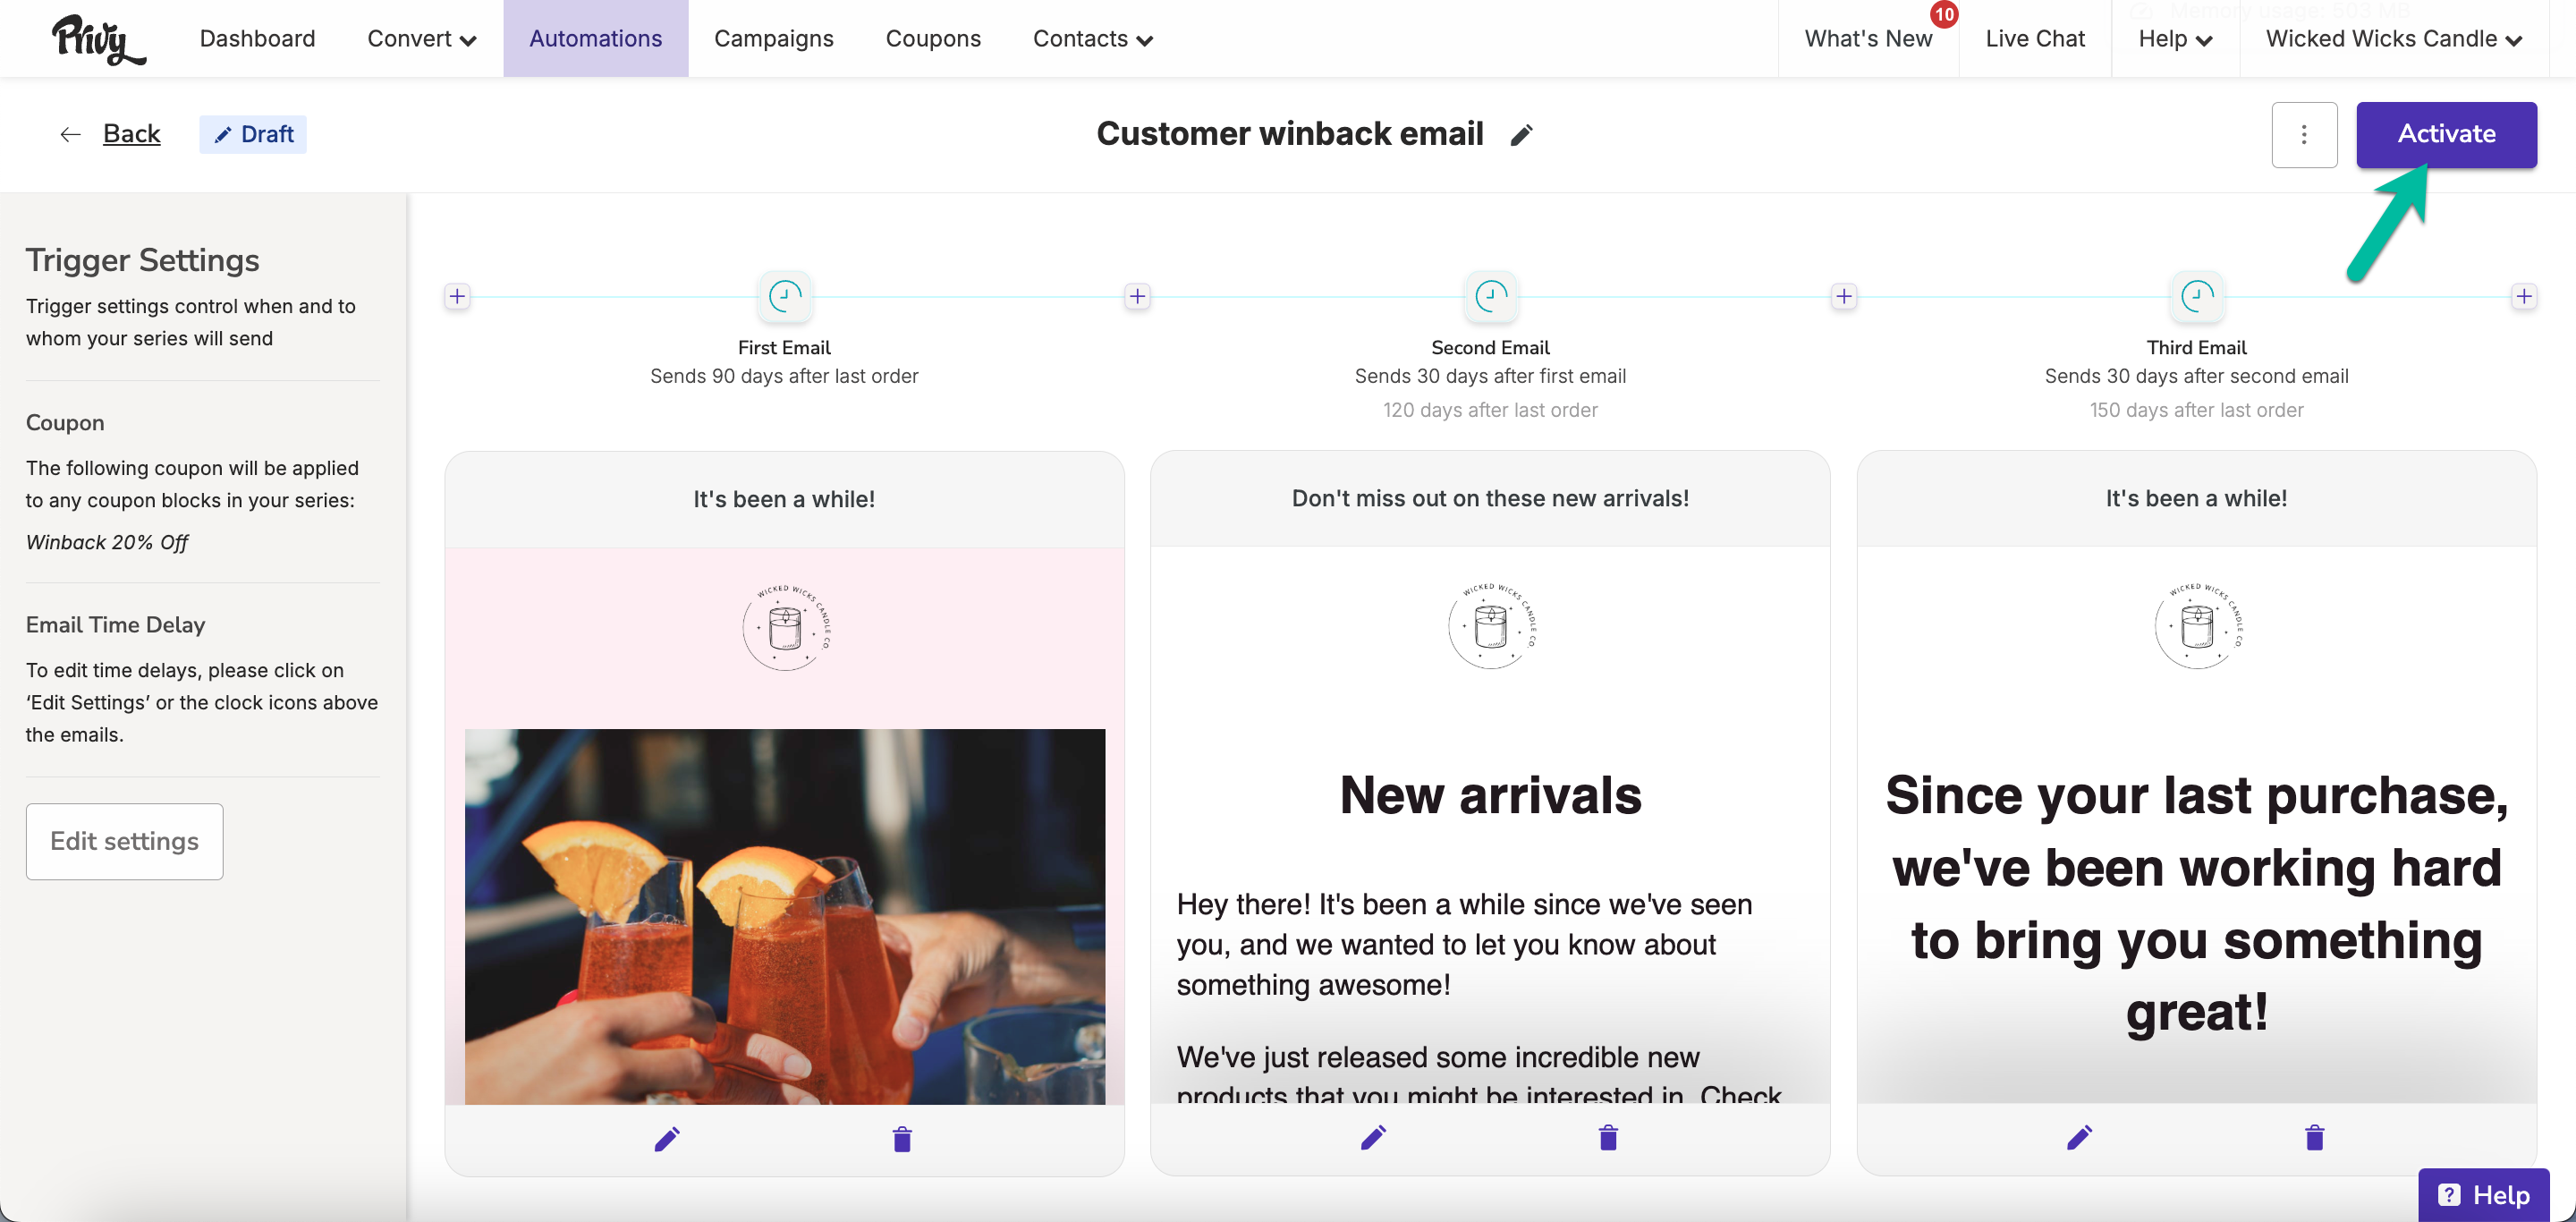
- Scroll to the top of the Settings step and click the Activate button.
The Winback email will start sending to qualifying customers automatically.
Review the email's performance
Now that you are using newsletters to communicate with customers:
- Learn how to evaluate their success via reporting in this guide.
- Discover which customers will ultimately receive your emails and why in this guide.