Create a new text message
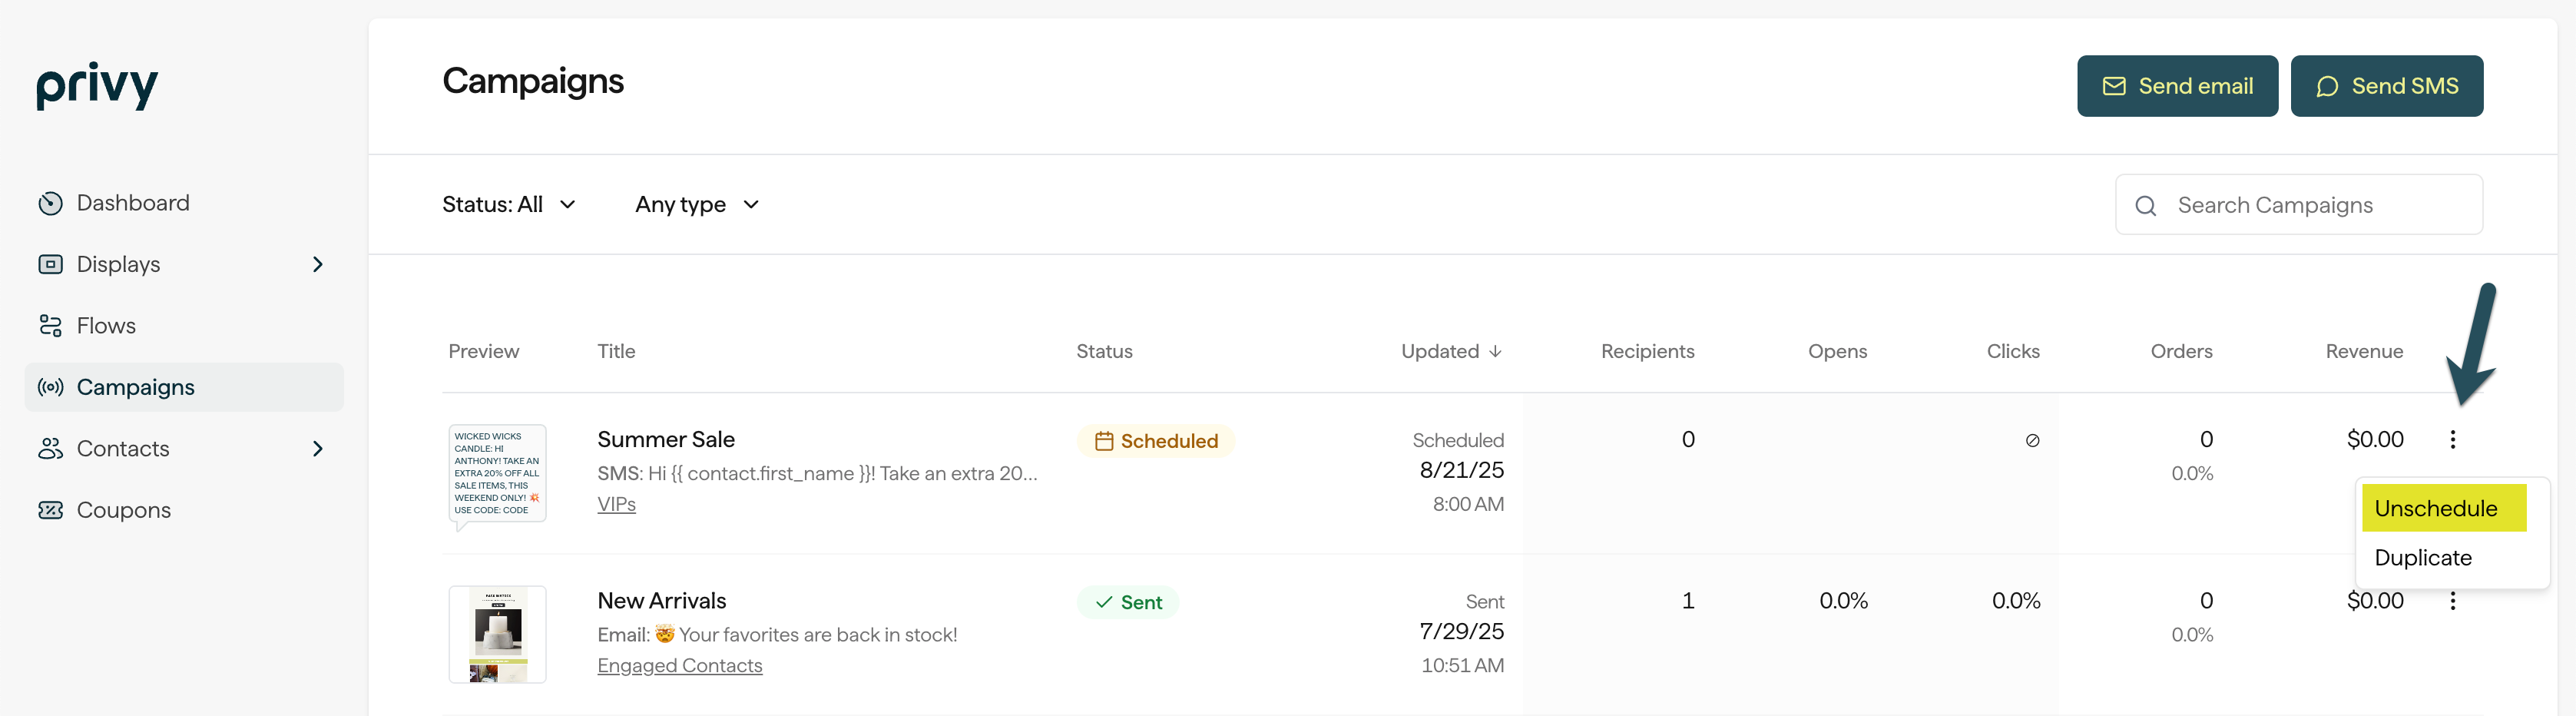
To start a new SMS Campaign:- Navigate to Campaigns from your Privy dashboard.
- Select Send SMS in the top right corner.
- Name your message and press Continue.
Write your message
Under Message, start to type out and write your message. A preview of your message will appear on the right.Personalize your text
To personalize your message with your contact’s name, your Business Name, or your Business URL, click on the variable icon in the bottom right corner of your message:Add a Coupon Code
To insert a coupon code into your message:- Click the Coupon icon in the bottom right corner of your message.
- Attach your desired code from the dropdown beneath Select Coupon Code.
Add an Image
To send an MMS message (a text message with an image file):- Click Add Image or Contact Card above your message content.
- Select Add Image from the menu.
- Select an image to upload into your message. A preview will appear on the right.
Note: Your file must be a PNG, JPEG, or GIF. The max size for image files is 600KB.
- Select Update Image to replace the current image with a different file.
- Select the Trash icon to completely remove the image from your message.
Add a Contact Card
To add a contact card to your message:- Click Add Image or Contact Card above your message content.
- Select Add Contact Card from the menu.
Target your message
In the Recipients card underneath your message, you can select one or more segments to target your message to. You also have the option to exclude segments as well.Send a test SMS
Before launching, send the campaign to your own phone to confirm formatting, shortened URLs, coupon codes, and any image or contact card attachments render correctly.- From the SMS campaign editor, open the campaign header menu and select Send Test SMS.
- Enter the phone number you want to receive the test, then click Send.
Test SMS uses the same delivery pipeline as a live campaign, so it’s subject to the same per-business throttles. If you hit a rate limit, wait a moment and try again.
Send or Schedule your campaign
Once you’re happy with your message, get ready to send or schedule your campaign. By clicking Send, you’ll be sending the message immediately and will be prompted to confirm your decision. By clicking Schedule, you’ll be able to specify the date and time you’d like your message to send in the future.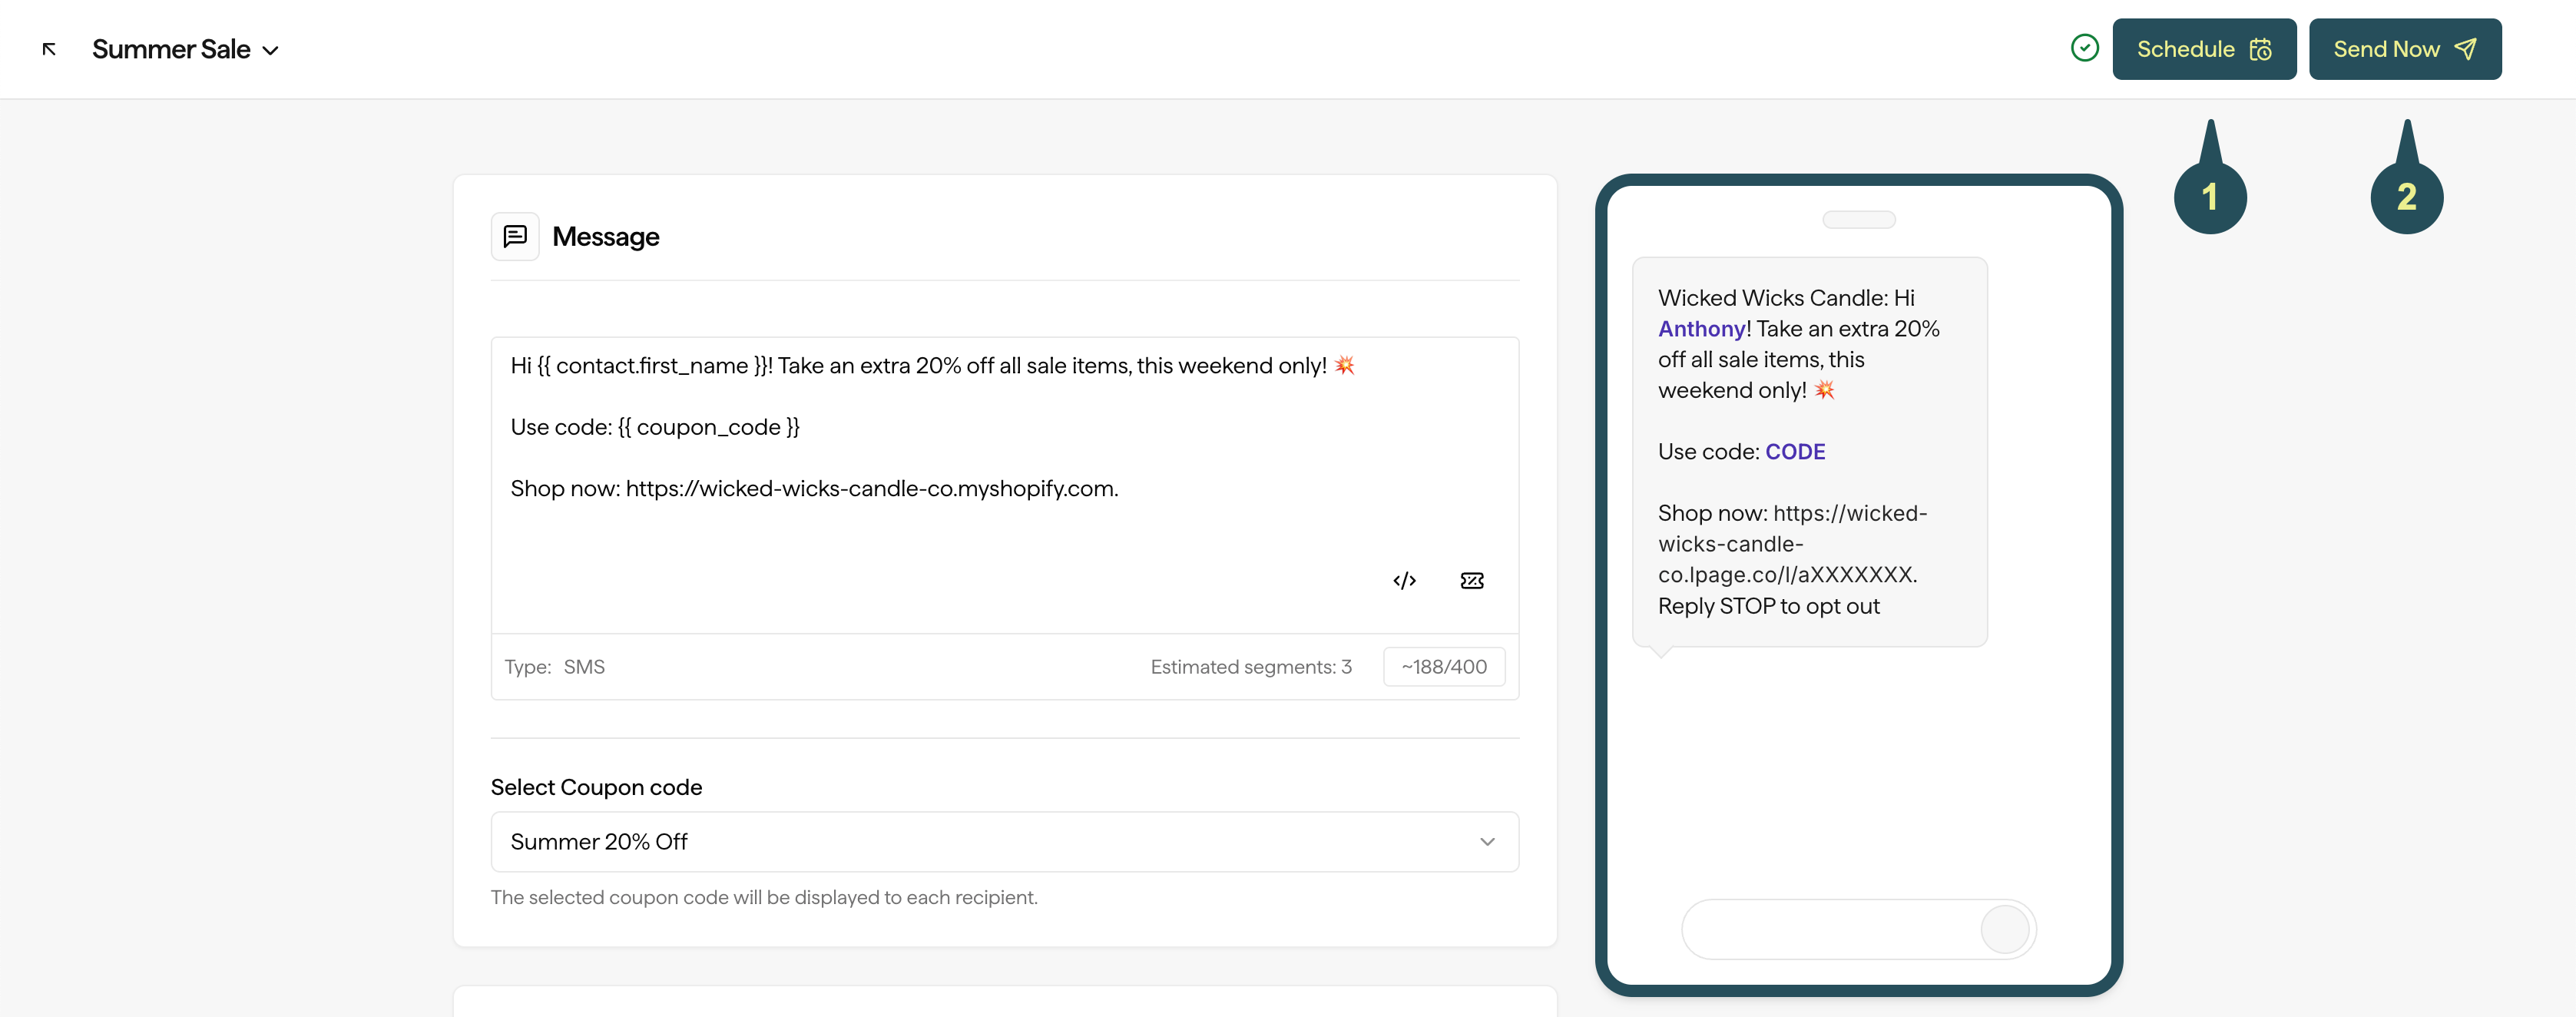
Text message guidelines
SMS is a tightly regulated channel, which means there are more limitations in place than there are for email marketing. Keep the following guidelines in mind when writing and sending your text messages:Compliance Requirements
Compliance Requirements
The business name and Reply STOP to opt out are required for each message. Update your business name in Business Settings.
Quiet Hours
Quiet Hours
Quiet hours are enforced from 8 PM to 9 AM in the recipient’s time zone, subject to regulations. Messages outside these hours will be queued.
Character Count
Character Count
For optimal readability, keep messages under 240 characters.