While the drag-and-drop email editor is recommended for most users due to its ease of use, you can work with custom HTML if you already have a template or if you prefer to work directly with your code. If you’d like to build your email templates with HTML, check out this guide.
Create a new email
To access the drag-and-drop email editor, you first need to create a new email draft:- If you plan on building a new Flow, head to Flows and click Create Flow.
- If you plan on building a new campaign, head to Campaigns and click Send email. Name your new email and select a template.
Choose a template
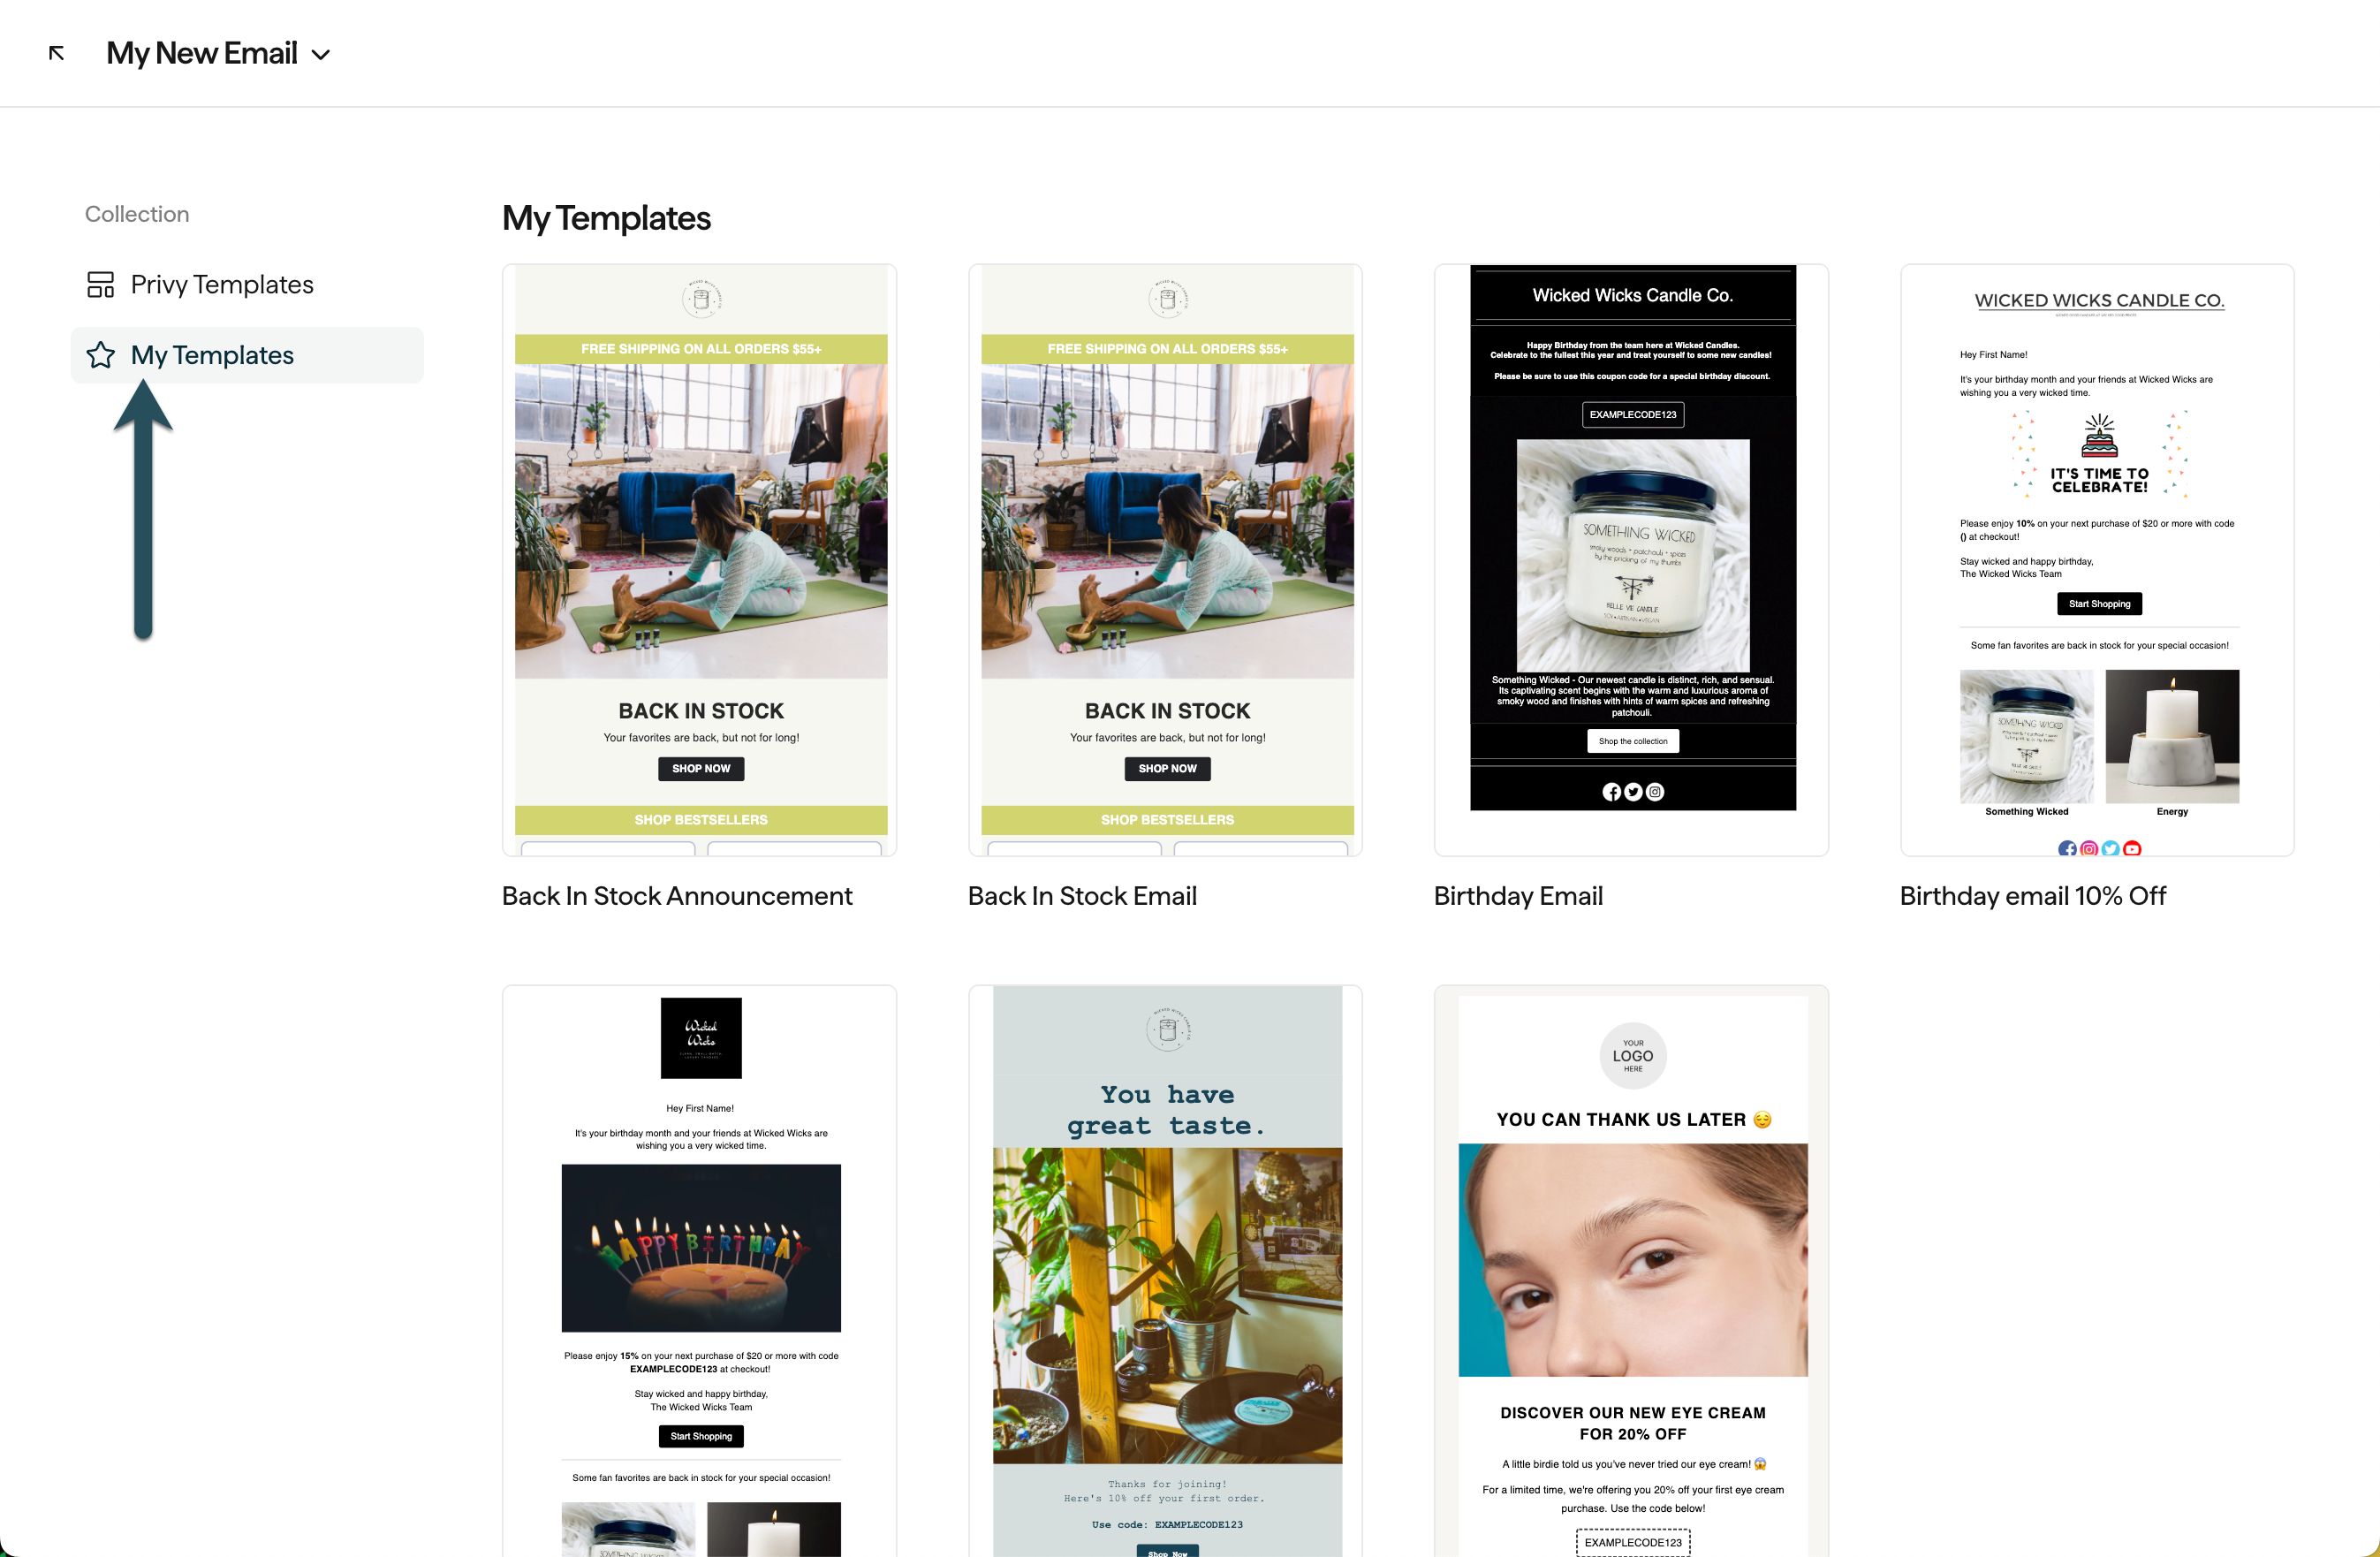
Privy offers a number of basic and stylized email templates that you can start with. To select a template, click Template at the top of your editor and select Change template from the dropdown menu. Browse between Privy’s Templates and your own saved Templates. Click on the template you’d like to use and confirm your decision.Edit the email’s styles
To change the default styles of your email, select the Body tab from the sidebar. This page allows you to change the width and alignment of the email’s content. Additionally, it allows you to update the default background color, font, and link styling options for content added to the template. Content already included or added to the template will not change.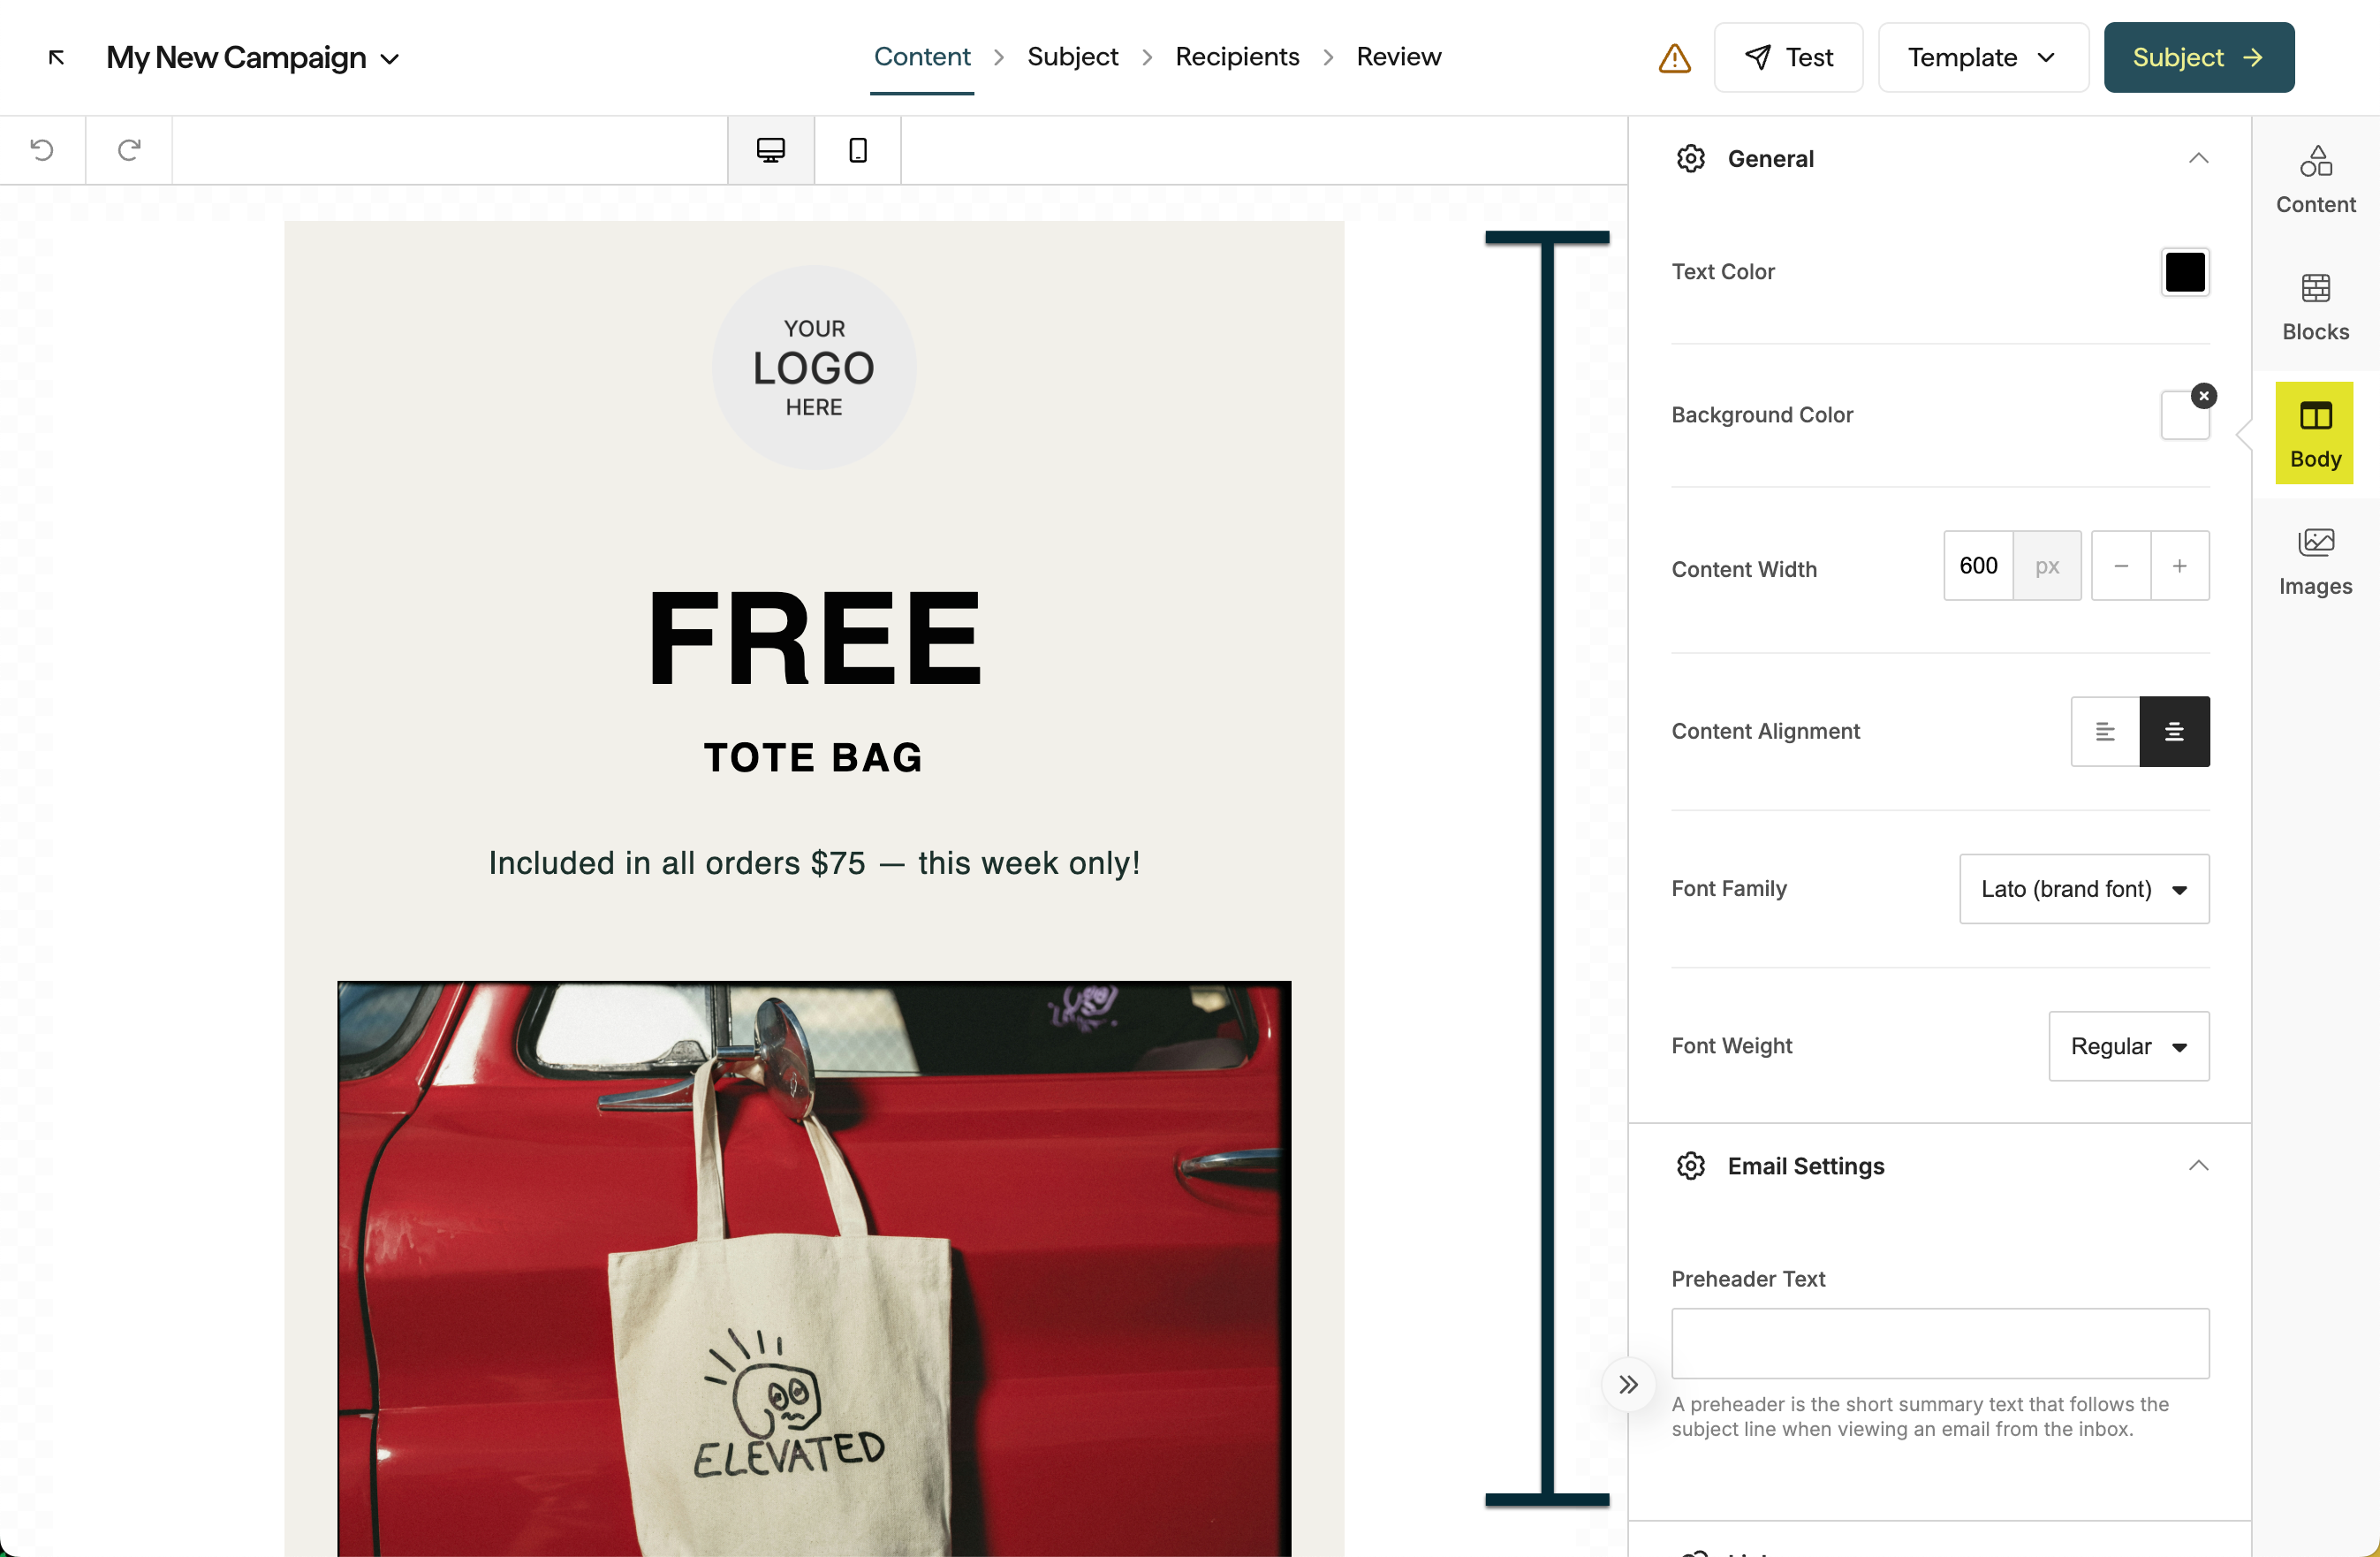
Edit the email’s layout
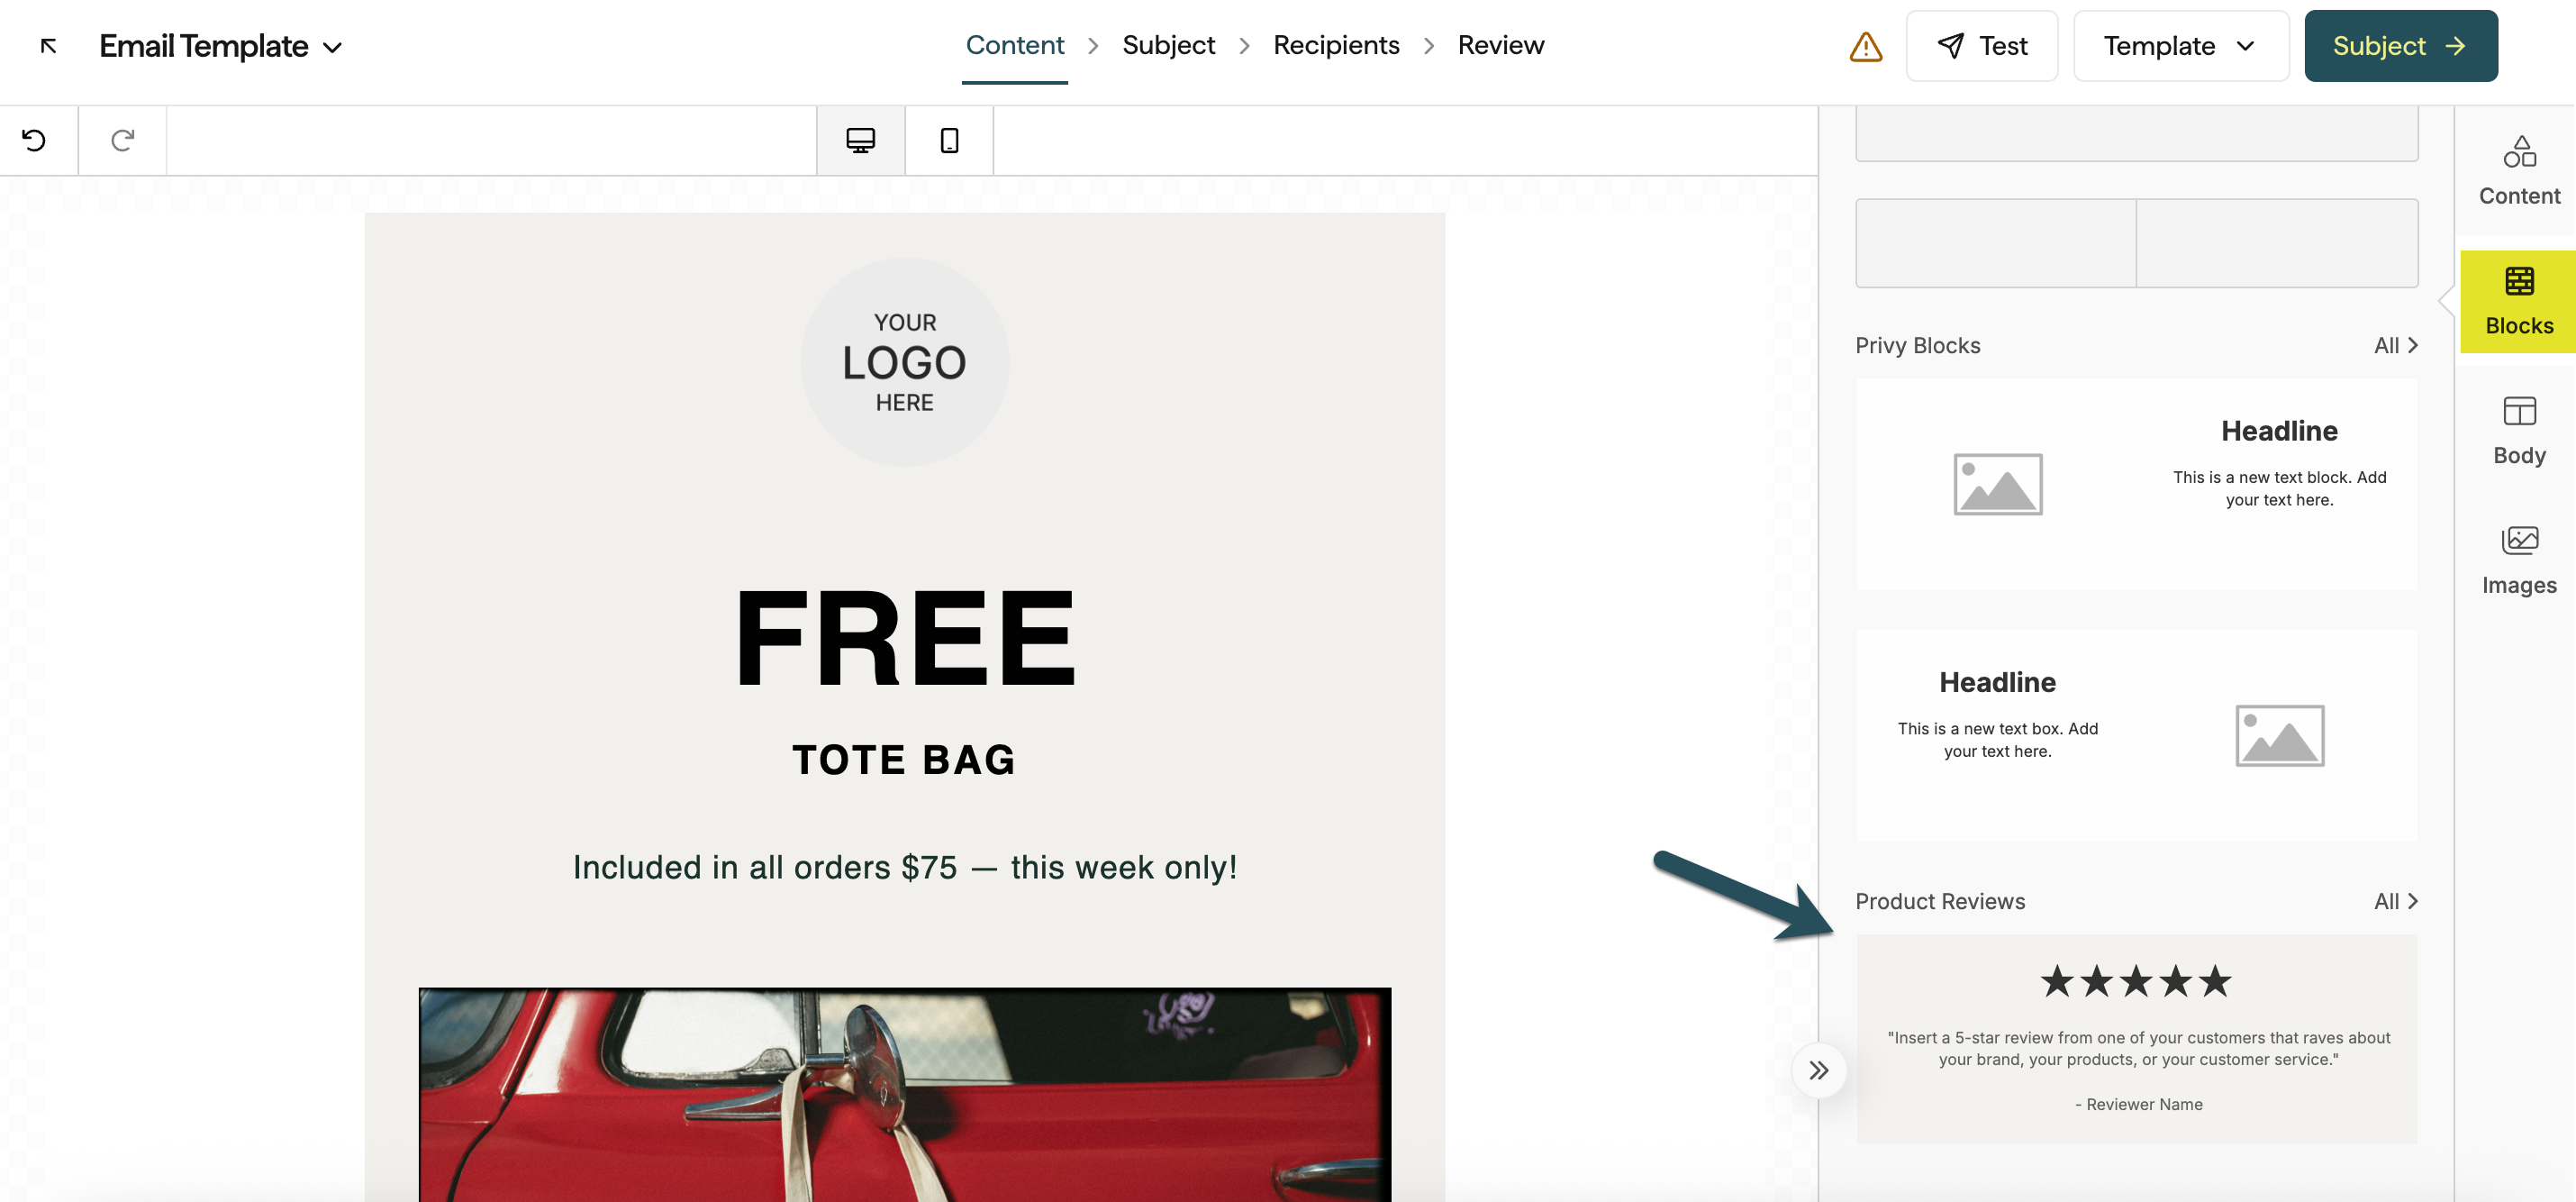
Add new blocks
To add a new section to your email, drag and drop the Columns block from the Content menu on the right.Edit existing blocks
To edit existing blocks, hover over your email content. Click on the background just outside of your email content to select the entire block of content. Add columns: On the left, you can edit the layout by adding or removing columns to your content. Removing blocks: If you want to remove the entire block of columns, select the ‘delete’ icon on the right side of the block. Duplicate blocks: If you want to duplicate an entire section in your email, select the ‘duplicate’ icon on the right side of the block. Move blocks: To move sections of your email, click and drag the blue ‘move’ icon to the right side of the block. You can snap the block to sit in a different location in your email’s body. Change color and padding: When a block is selected, you can edit its settings (such as it’s background color and padding) on the left side.Save blocks
You can save custom blocks in Privy to make it quick and easy to reuse chunks of content in future email templates without needing to rebuild them each time. To save a block:- Click just outside the email content to highlight the entire block you’d like to save.
- Select the Save icon.
- Name your new block and click Save.
Edit the email’s content
To add content to your email, you can drag any of the elements from the right side and drop them in your email’s body. Explore the different content options available below:Product
Product
Shopify and Shopify Plus users can drag a product element into their email by dragging it into a column and selecting the desired product from the dropdown menu. Learn more.
Button
Button
Divider
Divider
Break up your content with a divider element; edit its color, style, and padding on the left.
Heading & Text
Heading & Text
Drag in a heading and/or a text box element. Edit the text’s font style, size, color, and weight on the left.
Image
Image
Upload a new image or select an existing image in your photo manager. Shopify and Shopify Plus users can also select a Shopify Product to automatically pull in a product’s photo from their store. Learn more about using and editing images.
Coupon
Coupon
Drag in a coupon element to display a coupon code in your email’s content. You can edit this element’s color, outline, and appearance on the left. Learn more about ways to insert and attach coupons in your email content.
Video
Video
Embed a video into your email. The video must be hosted on either Youtube or Vimeo. By pasting your video’s URL, the editor will automatically generate a preview image of your video. The image will link to the provided URL.
Social
Social
Menu
Menu
HTML
HTML
If you want to add an HTML code section into your email, you can drag the element from the left. Check out this guide for more information on using HTML in your email templates.
Timer
Timer
Add a countdown timer into your emails to drive urgency around limited-time sales or upcoming announcements. Drag in your Timer, then specify your end date & time and customize its appearance on the left. Learn more about using countdown timers in emails.
Personalize your content
Privy offers many different personalization tags that you can insert into your email content to connect with your contacts on an individual level — learn more about inserting personalized content with this guide.Insert images from Unsplash
If you’re looking for high quality, professional-looking images to give your email an elevated look, you can insert licensed images from providers such as Unsplash, Pexels, and Pixabay straight from the editor. Head to the Images tab on the sidebar. You can browse trending images or search for specific keywords. To add the image to your content, simply click and drag it into your email.Preview and Test
Use the desktop and mobile icons at the top of your email editor in order to preview and/or edit your message for each device type. Select Test at the top of your screen to send a test email to up to 5 Privy users at a time.Save your template
To save your email as a new template, click on Template at the top of your screen and select Save as a new template from the dropdown menu. Name your template and Save. Your new email template will appear in your My Templates folder moving forward. Next time you create an email, you can save time by starting with this template and customizing it to fit your needs.