What is a Privy Tag?
Privy Tags are labels that you create to organize your contacts. Privy Tags are highly customizable and can be applied during an import, via a contact’s profile, at signup, from a Flow, or when a contact clicks a tagged link in an email or SMS. Privy Tags can be used in a variety of ways to identify customers, such as wholesale clients, local customers, VIP customers, and more. Once a tag is applied, it becomes available for contact filtering and audience segmentation.Add Tags during a Contact Import
When you import a spreadsheet (CSV) of contacts, you will reach a Tags step. This step in the import process allows you to apply new or existing tags to all of the contacts included in the import file.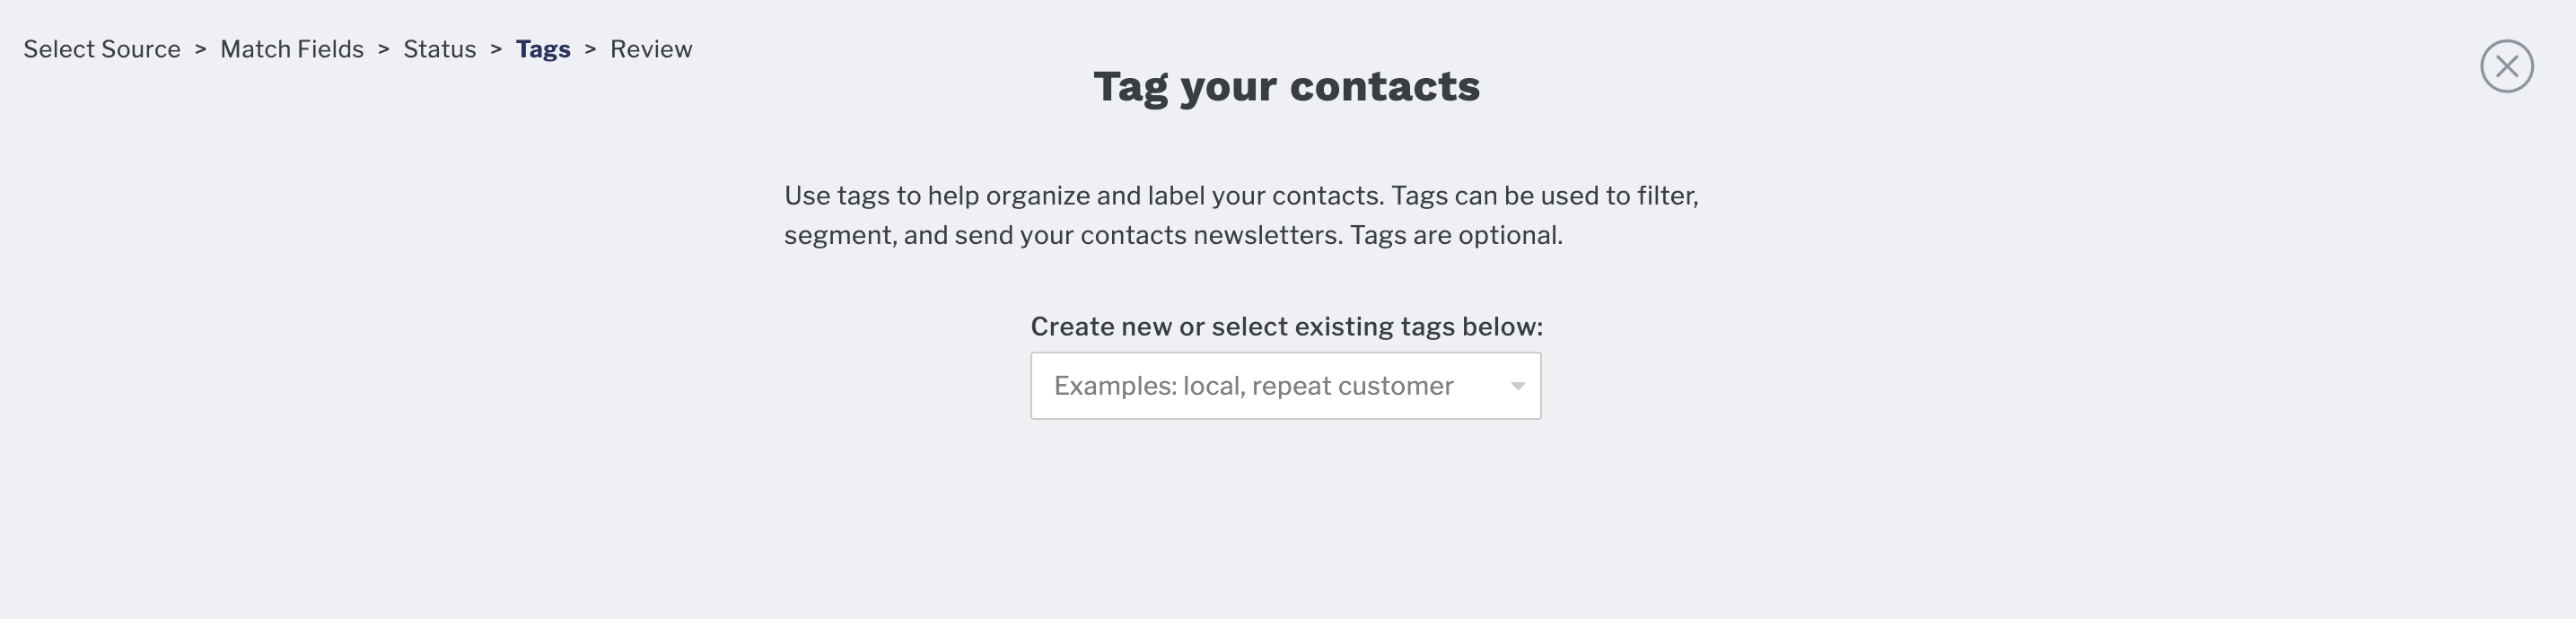
Add Tags at signup via a display
To apply tags automatically when a contact signs up through a specific display, configure the Signup Tagging section in that display’s settings. See Signup Tagging under Display Advanced Settings.Tag contacts who click a link
You can add Privy Tags when a contact clicks a link in an email or an SMS. When they click a tagged link, Privy adds the tag(s) to their profile.- In the email editor, open the link settings on a button or inline text link and use Tag on click to choose existing Privy Tags. See Tag contacts who click a link for setup steps.
- In the SMS campaign editor (and on SMS steps in Flows), map Privy Tags to each link in the message with Tag Link. See Tag contacts who click a link for setup steps.
Add Tags to a Contact Profile
To add Privy Tags to contacts individually:- Navigate to your Contacts page.
- Search for and select the contact that you’d like to tag.
- Select the Add a tag option from the Attributes section of the sidebar.
- Select an existing tag, or create a new one. You can add more than one tag, if desired. Save.
Add or Remove Tags in Bulk
Apply or remove a tag across many contacts at once from the Contacts page:- Filter the table to the contacts you want to tag, or leave it unfiltered.
- Select individual rows to act on specific contacts, or leave them unselected to act on every contact matching your filters. The Bulk Actions button shows the current selection count.
- Open the Bulk Actions menu and choose Tag Contacts.
- Choose Add or Remove, enter a tag name, and confirm. Tag names are saved in lowercase.
When you select rows individually, the action runs only on those contacts. When you leave rows unselected, the action runs on every contact matching your current filters; any rows you explicitly unchecked are skipped.
Remove a Tag from a Contact Profile
To remove Privy Tags from a contact’s profile:- Navigate to your Contacts page.
- Search for and select the contact that you’d like to edit.
- Select the Edit option next to the contact’s tags from the sidebar’s Attributes section.
- Remove (X) the desired tags and Save.
Put your Tags to work
Once a Privy Tag is applied to at least one contact, it becomes available for contact filtering, newsletter audience segmentation, and tag-based Flows.Apply Tags from a Flow
You can also apply tags automatically with a Tag Contact action in the Flow builder. When a contact reaches that step, Privy adds the Tag(s) you configured and they continue through the rest of the Flow. See Create a Flow for setup steps.Trigger Flows from Tag changes
You can start a Flow when tags are added to or removed from a contact. In a Start From Scratch Flow, choose:- Contact Tagged to start the Flow when one or more tags are applied — including tags added when a contact clicks a tagged email or SMS link.
- Contact Untagged to start the Flow when one or more tags are removed.
A tag-based Flow starts when the tag changes. Contacts who already have the tag will not enter until the tag is added or removed again after the Flow is active.
Contact Filtering
- Navigate to your Contacts page.
- Click on the Filters dropdown menu and select the Privy Tags filter.
- Select which Tag(s) you’d like to filter by, and click Apply to apply the filters.
Segmentation
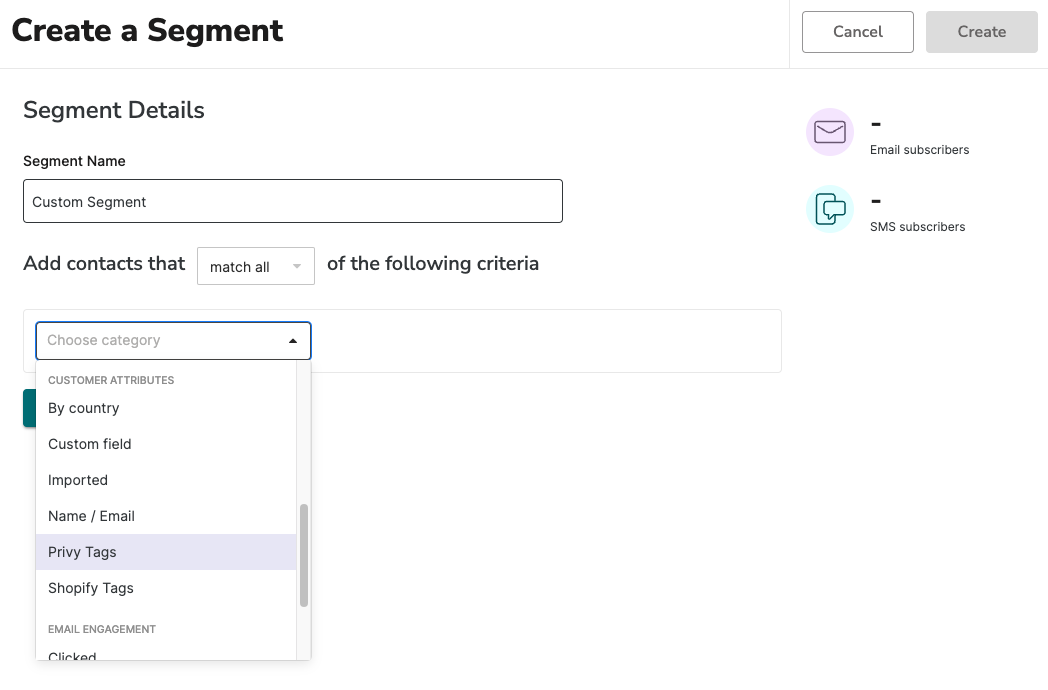
To use a tag for the segmentation of your Campaign recipients:- Navigate to Contacts > Segments on the left side of your dashboard.
- Select Create Segment in the upper right.
- Select the Privy Tags filter and select which Tag(s) you’d like to segment by.