Product Requirements |
() Privy Email |
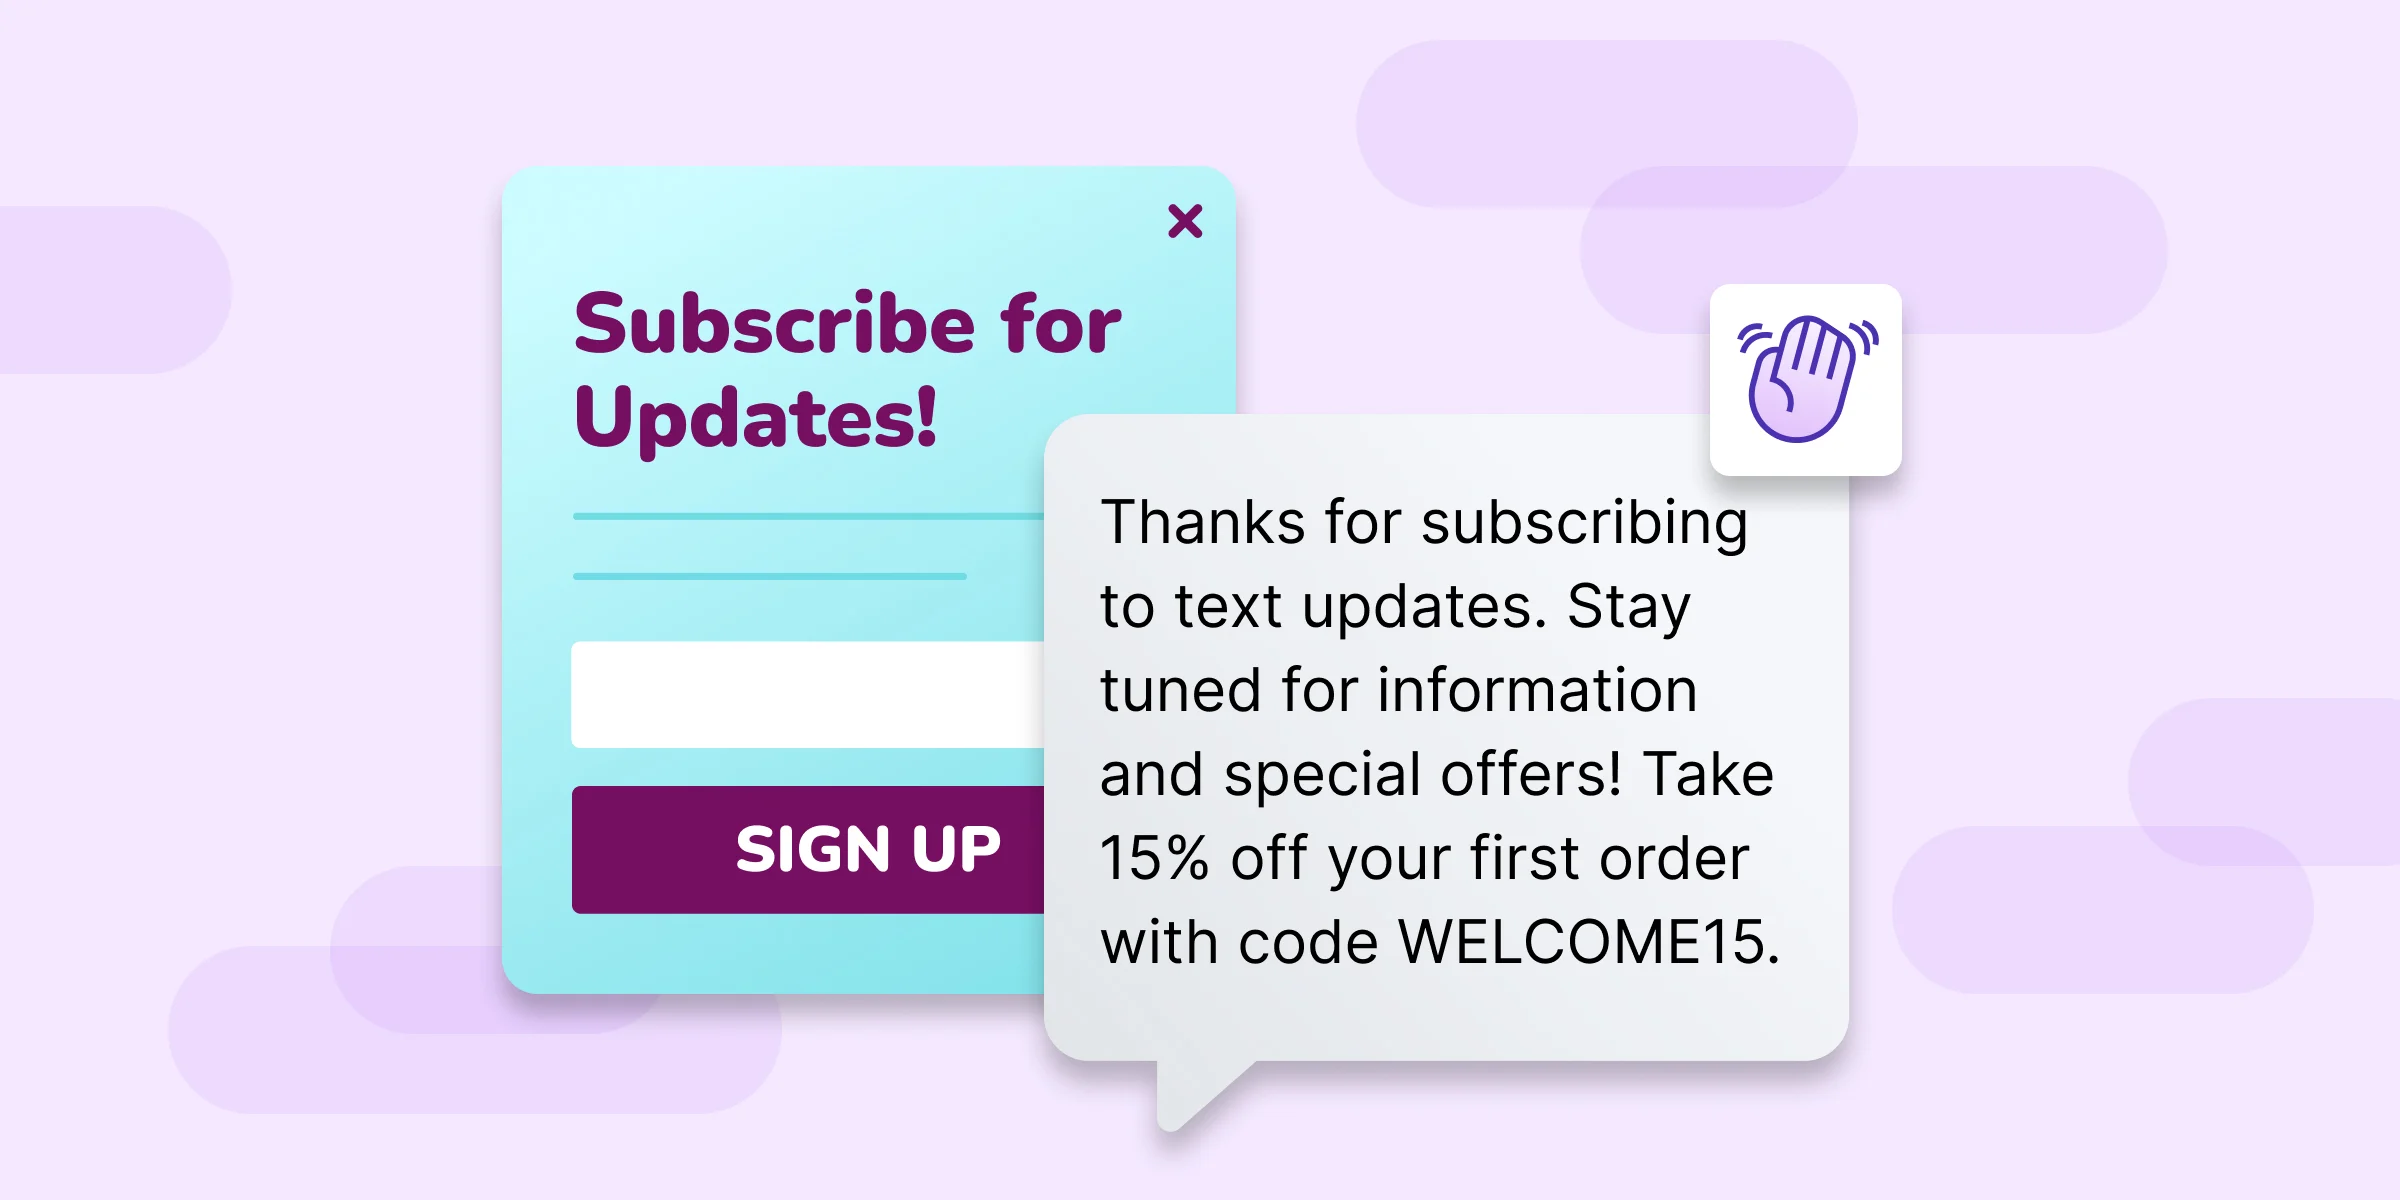
A welcome email is the first impression a company makes with a new subscriber after they've visited your site and submitted a display. The average welcome email has an open rate of 91%, so your welcome email will likely have one of the highest open rates of any email you send, which means it's something you can't afford to skip.
Note: A welcome email is only sent to new contacts after they've submitted an eligible Privy display. A welcome email is not sent to new contacts that are imported, created manually, or to contacts added via third-party tools, including your e-commerce platform. Welcome emails also aren't sent if the signup is via a display that's not included in your email's trigger settings.
Example use-cases
A successful welcome email is appreciative and engaging while clearly setting the tone and expectations of the subscriber's relationship with your business. It's a unique opportunity to humanize your business, build trust, or educate the subscriber in a way that helps them succeed. Some common welcome email types include:
The thank-you email. Many consumers are bombarded with prompts to sign up, join, enroll, or subscribe to all sorts of business communications. So when someone takes the time to sign up for your communications intentionally, it's a pretty big win. Simply acknowledging that fact and how grateful you are to the visitors who took the time to subscribe is a great go-to welcome email type. Consider pairing this with a personalized message, written or video, from your company's founder and a welcome discount to encourage a future conversion.
The educational/onboarding email. Often a visitor's signup indicates a clear interest in a particular product or service. An educational or onboarding email leans into this fact. It graciously welcomes the recipient while using the bulk of its content to help the user quickly add value by providing educational resources, how-to videos, or contact information for your customer-facing teams.
The impact email. Today's consumers want to support businesses that share their values. If your business was founded with a specific mission in mind, sharing this with subscribers validates that they made the right choice signing up for your emails. Let your subscribers know why this particular mission means so much to you. Don't be afraid to be a little vulnerable and share your personal experience—it makes you relatable not only as a business owner but also as a person.
If you're interested in checking out some additional welcome email examples, check out this post.
Create and send your emails
To create and send a welcome email:
- Navigate to Automations > New automation.
- Select the Welcome Email option. This action opens Privy's 3-Step email editor.
1) Design the email
- Edit the content of your email using the drag and drop email editor. A basic example is provided automatically; however, this starting point can be changed by selecting Templates > Choose a Template from the editor's toolbar. Once a template is selected, click the Choose selected button to have it applied to the email.
- Make sure to select the Save button at the top-right after making your changes.
Consider offering an incentive
Welcome emails are a fantastic place to offer a coupon because the visitor has already expressed interest in your products or services.
- To add a discount to your welcome email, either:
- Click into a content block that contains text and input or insert the Coupon Code merge tag, which appears like this: {{ coupon_code }}. This tag will populate with the coupon code when the email is sent to customers. Make sure to include appropriate positioning text near the code so that it is easy for the recipient to understand what they are receiving.
-
- Drag-and-drop the Coupon element from the sidebar into your email and select the desired coupon from the prompt. Also, make sure to include appropriate positioning text near the code so that it is easy for the recipient to understand what they are receiving.
- Make sure to select the Save button at the top-right after making any changes.
Learn more about personalizing your messaging with merge tags in this guide and about inserting coupons into your content in this guide.
Configure the sender information
Next, click into the sender info section at the top of the email editor and configure the options.
- Confirm or select a reply-to address. Any replies to the email will go to this address.
- Edit the subject line. Keep it interesting, on-brand, and make it clear that something has been left behind. A subject line no longer than 7 words or around 40 characters is recommended.
- Provide preview text. The text appears after your subject line when viewing the email in the inbox and allows the addition of compelling copy that helps boost open rates and engagement. The text should be 35 to 55 characters and does support Merge Tags.
Please make sure to select the Save button at the top-right after making your changes.
Note: To update the default From Name and Address used for your emails, navigate to the Sender Options section of your account settings. Additionally, consider updating your sending domain so you can use custom addresses associated with your domain and improve your deliverability.
2) Preview and test the email
With an email customized, return to the top of the email editor and click the Next button to preview the email in desktop and mobile views. If you are unable to click the button, make sure you've saved your most recent changes. To preview the email in your actual inbox, select the Send Test Email button. The test is sent to the email address associated with your Privy login credentials.
3) Configure the email settings
With your design previewed and tested, return to the top of the email editor and click the Next button to configure the email's trigger and coupon settings. Click the Edit button next to the settings you'd like to change. The following trigger settings are available:
- Determine the eligible displays. Select which displays trigger the welcome email. The default is all displays, but a specific set of displays can be selected instead.
- Set the email delay. Determine how many hours or days must pass before the welcome email is sent to eligible recipients. The default delay is 0 hours (sends immediately), and it can be extended up to 60 days.
After editing the trigger settings, please select the section's Save button.
Confirm the coupon settings
Next, if you included a coupon code in your email, make sure you've selected a code from the dropdown in the Coupon section of your email settings. If you'd like to include a coupon, but none are available in the dropdown, learn how to create coupon codes in this guide.
Name the email
- Name the email by clicking the Edit Title() icon, providing a non-default name, and clicking the Update button. This name change will make it easier to locate the email for additional edits or a performance review post-send.
Activate the email
To activate an email once its design, content, and settings are customer-ready:
- Click the Save button in the email builder if you haven't already.
- Scroll to the top of the Settings step and click the Activate button.
The welcome email will start sending to qualifying visitors automatically.
Note: If the email is part of a series, please make sure there's enough time to create, edit, and enable the other emails without issue. You can always return to the emails and activate them when all elements of the series are ready for customers.
Create a series
Repeat these steps to create additional emails for a welcome series. Review the Example use-cases section of this article for a refresher on what these emails might focus on, and be sure to leave enough time between the emails so that customers feel reminded but not inundated.
Review the email's performance
Now that your welcome emails are sending to customers:
- Learn how to evaluate their success via reporting in this guide.