You are using an unsupported browser. Please update your browser to the latest version on or before July 31, 2020.
close
Home > Convert > Displays > Examples > Create a Welcome Discount Display
Create a Welcome Discount Display
print icon

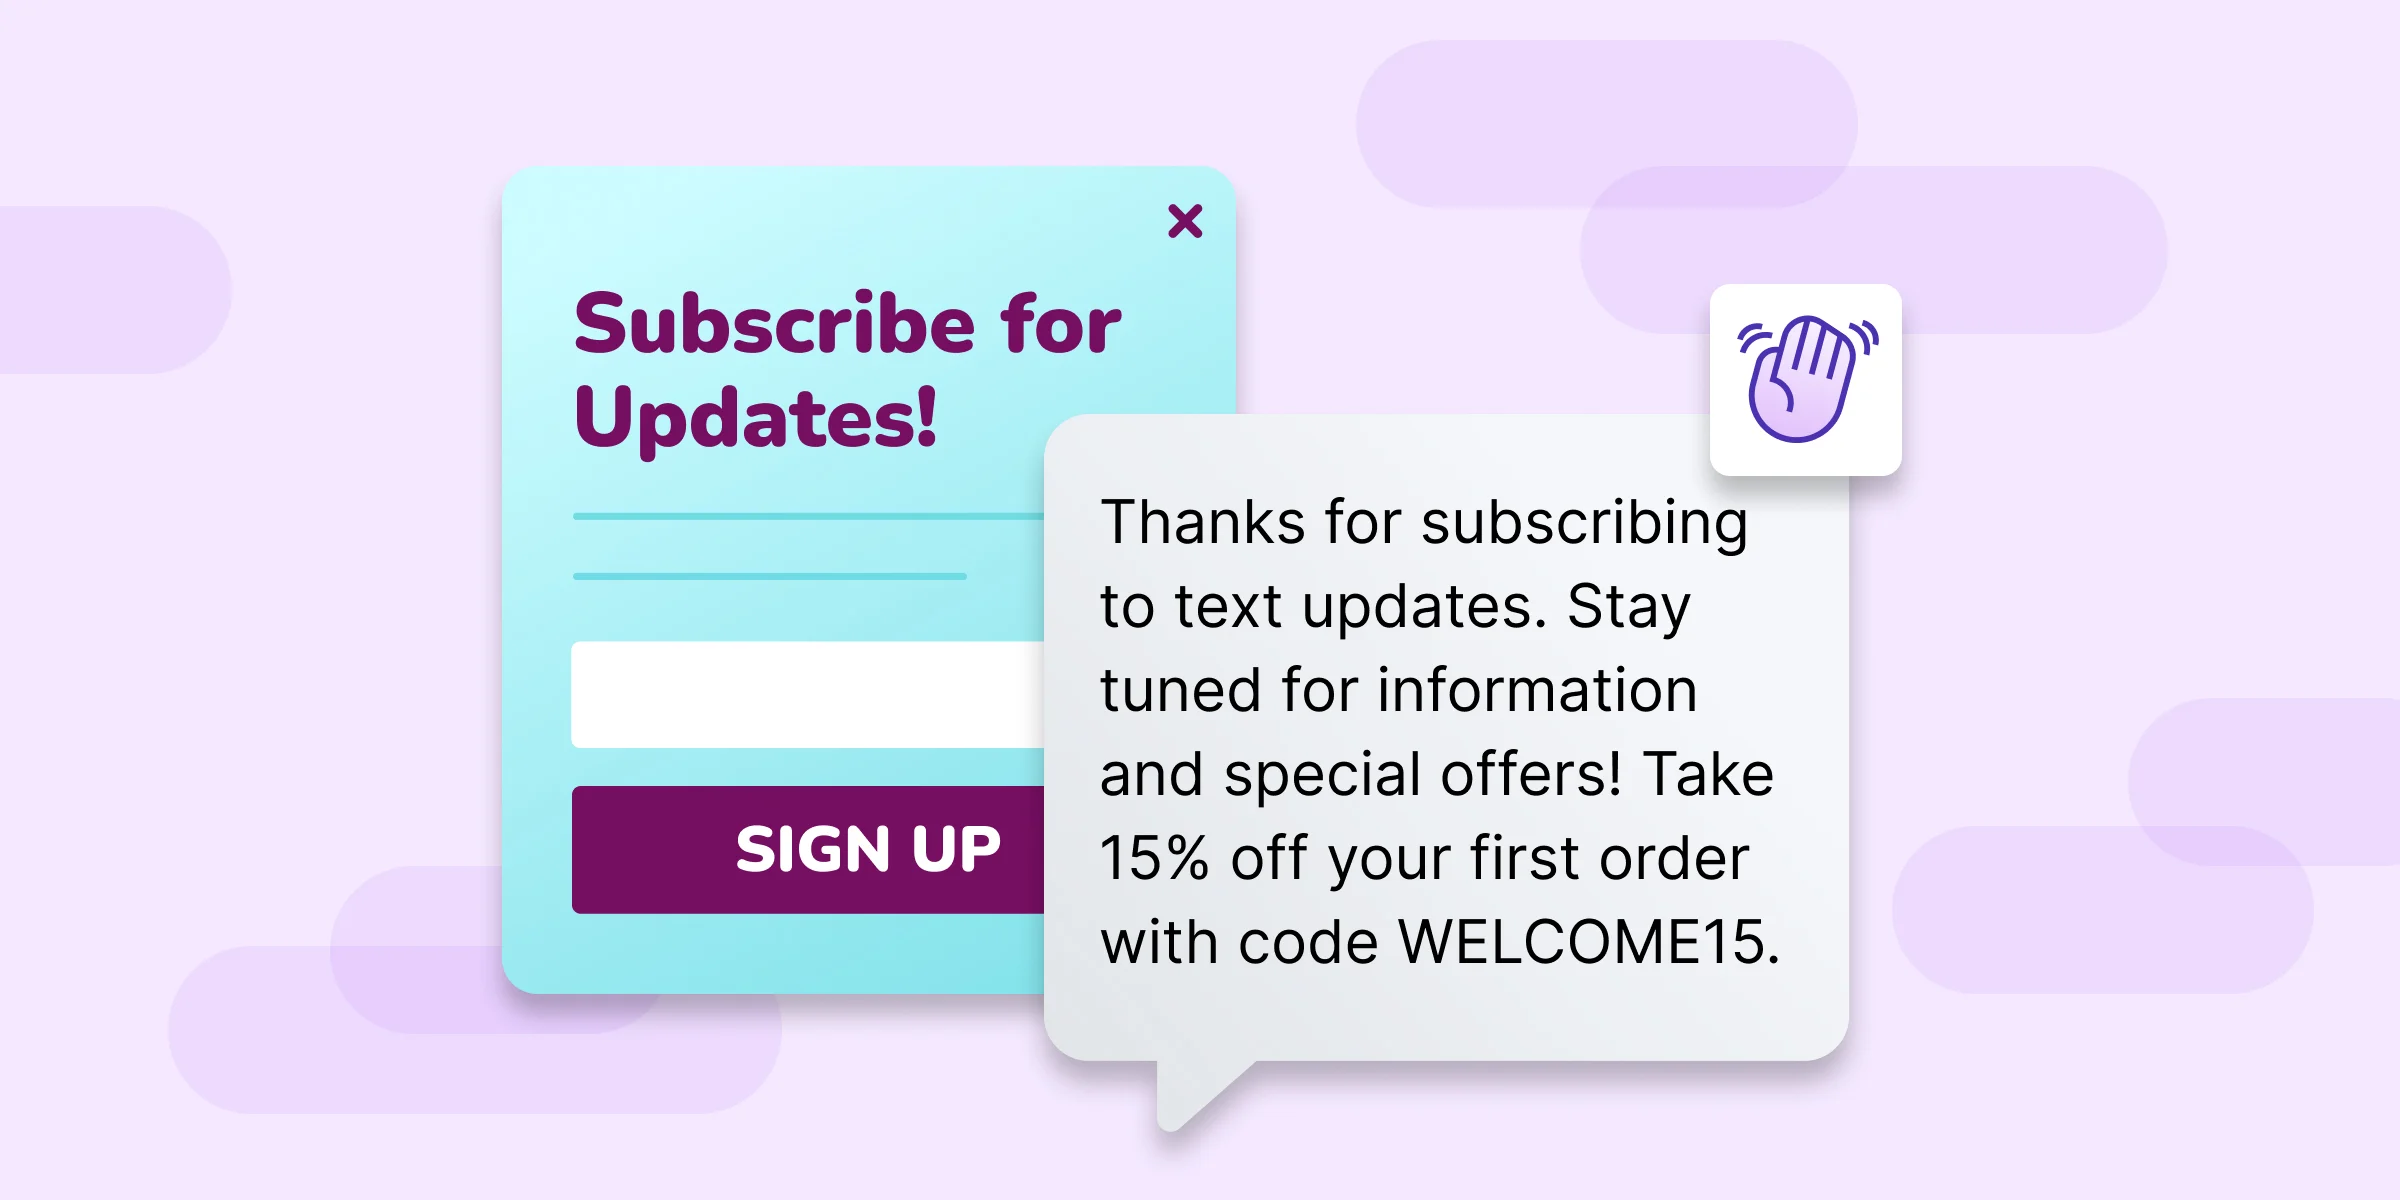
A welcome discount display appears as soon as your visitor arrives or shortly after their arrival. Its main goal is to grab the visitor's attention and entice them to provide their contact information. The vast majority of first-time visitors aren't going to make a purchase when they first explore your site, so this is a significant opportunity to connect with the visitor and stay in touch. Every email you capture is worth, on average, $33 in future sales. 


Need some inspiration before you begin? Check out some customer examples

Before you begin

A welcome discount display uses a discount offer to entice visitors to submit their contact information. Please create a coupon before starting the steps outlined below. If you do not, you will be prompted to do so during setup and will need to restart the display creation process. 

Create the display

To create a welcome discount display: 

  • Navigate to Plays via the main navigation. 
  • Locate the Welcome Discount Popup or Welcome Discount Flyout play and select Create
  • Select the discount you'd like to offer via the prompt and select Continue


  • This action opens the display editor, where you'll see a default layout as a starting point for your display's design.
  • Use the display editor to customize the display's content, tabs, and thank you page to match your brand. You can access each component of the display via the Displays menu and can easily edit each element of a display by selecting areas of the preview.


  • Next, use the Desktop Preview and Mobile Preview buttons to ensure the display meets your design goals for each view. All layouts are designed for desktop and mobile responsiveness by default; however, it's always best to check. 


  • The display is ready to collect visitor information. To launch it on your site, use the Publish button at the top right. If you aren't ready to publish or would like to further customize the display's settings, such as the targeting and after signup actions, select Save instead. 


Target the right audience

As with all Privy plays, a recommended target audience is already selected for your display. In this case, a welcome discount appears after 10 seconds to new visitors who haven't previously submitted a display a maximum of once per day until the display is disabled. To change these default settings, click on the appropriate card and update the settings. 


  1. Triggers and Visibility determines when and how the display appears to the visitor. 
  2. Audience Targeting is used to target the specific segment of visitors outlined in the section above. Learn more about attributes, activities, and behaviors
  3. Scheduling determines how long the display will appear to visitors. Update the setting if you'd like the display to expire on a specific fixed date.  
  4. Coupon allows you to change the coupon associated with the display


If you make any changes to these settings, be sure to click Save.


Advanced Settings

Advanced settings give you even more control over the behavior of your display. 

  1.  Sign Up Rules control how many times a contact can sign up for your display.  By default, this is set to once. 
  2. Sync Integrations once set up will automatically sync each contact that signs up to your preferred ESP.


Follow-up the display

Move to the Follow-up step, and review the following optional options:

  1. Enable and customize the default after signup email to send an email to the individuals who decided to sign up for the display. 
  2. Select the Add Email to Series option to send additional after-signup emails. 
  3. Select the Create After Sign Up option to send an after signup text message to the individuals who decided to sign up for the display. 


Note: The text message option requires a Privy Text subscription. Additionally, a customer is only eligible to receive texts if their phone number was collected via a Privy display using the phone field, they checked the text opt-in checkbox, and they answered "YES" to the double opt-in message sent to their number. 


Launch the display

Once the display has been created, the target audience selected, and any desired follow-up messages configured, select the Publish button at the upper right of the Follow-up step and confirm your decision in the prompt. 


The countdown timer display is now live and will appear to your qualifying customers. 


Review the results

After a display is published, you can dig into its performance by clicking the Reporting option. 


Feedback
0 out of 0 found this helpful

scroll to top icon